MONDAY 5TH JAN
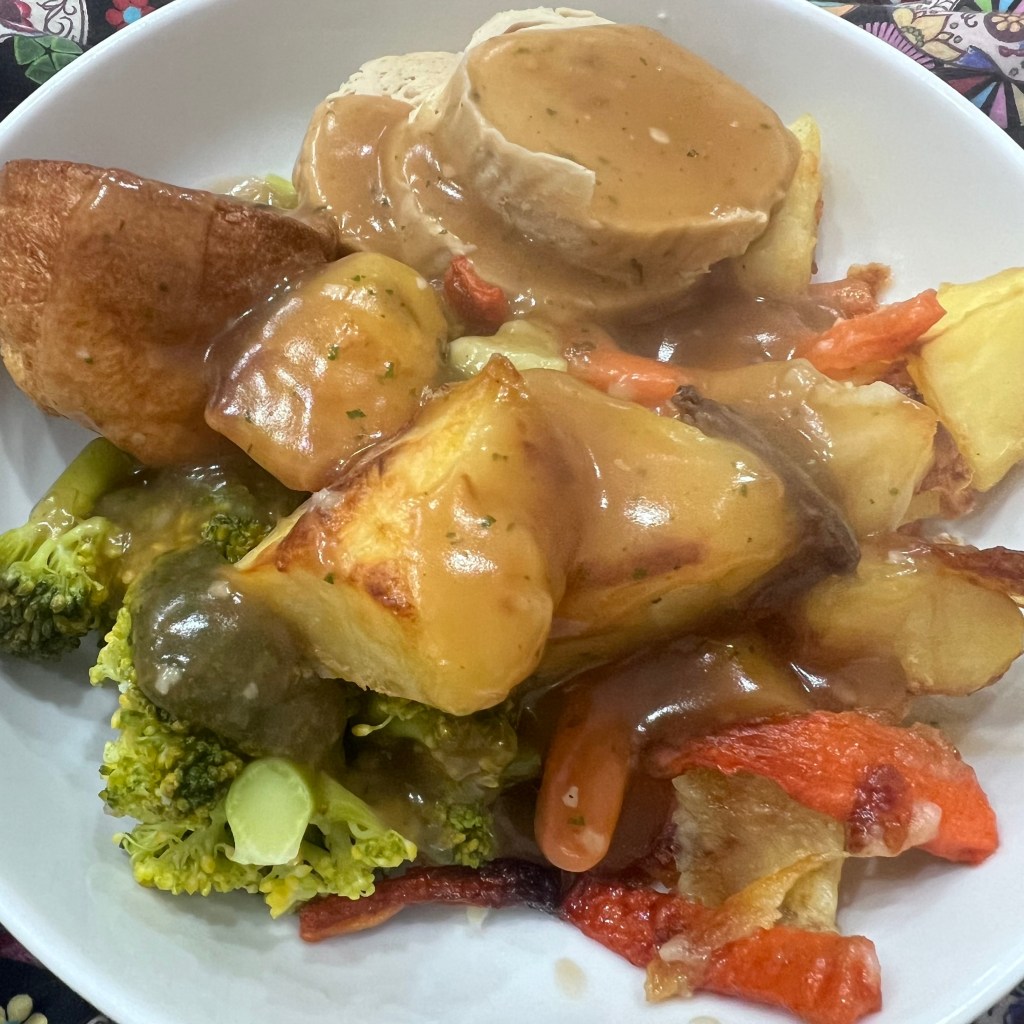
I worked from 8:00am – 12:00pm. I’ve been feeling really tired since Christmas and have had niggling cold symptoms that have not amounted to much but have been quite annoying (runny/blocked nose, sore throat, aches), and I think that is what has been making me feel tired. Once I got in from work, I headed to bed and slept from 1:30pm to 3:00pm. I still wasn’t feeling great, so I had a bath once I’d woken up, which helped a little bit. Once Shane came home from work, we made a roast dinner with a Quorn Roast, roast potatoes, roast parsnips and carrots, broccoli and gravy.
TUESDAY 6TH JAN
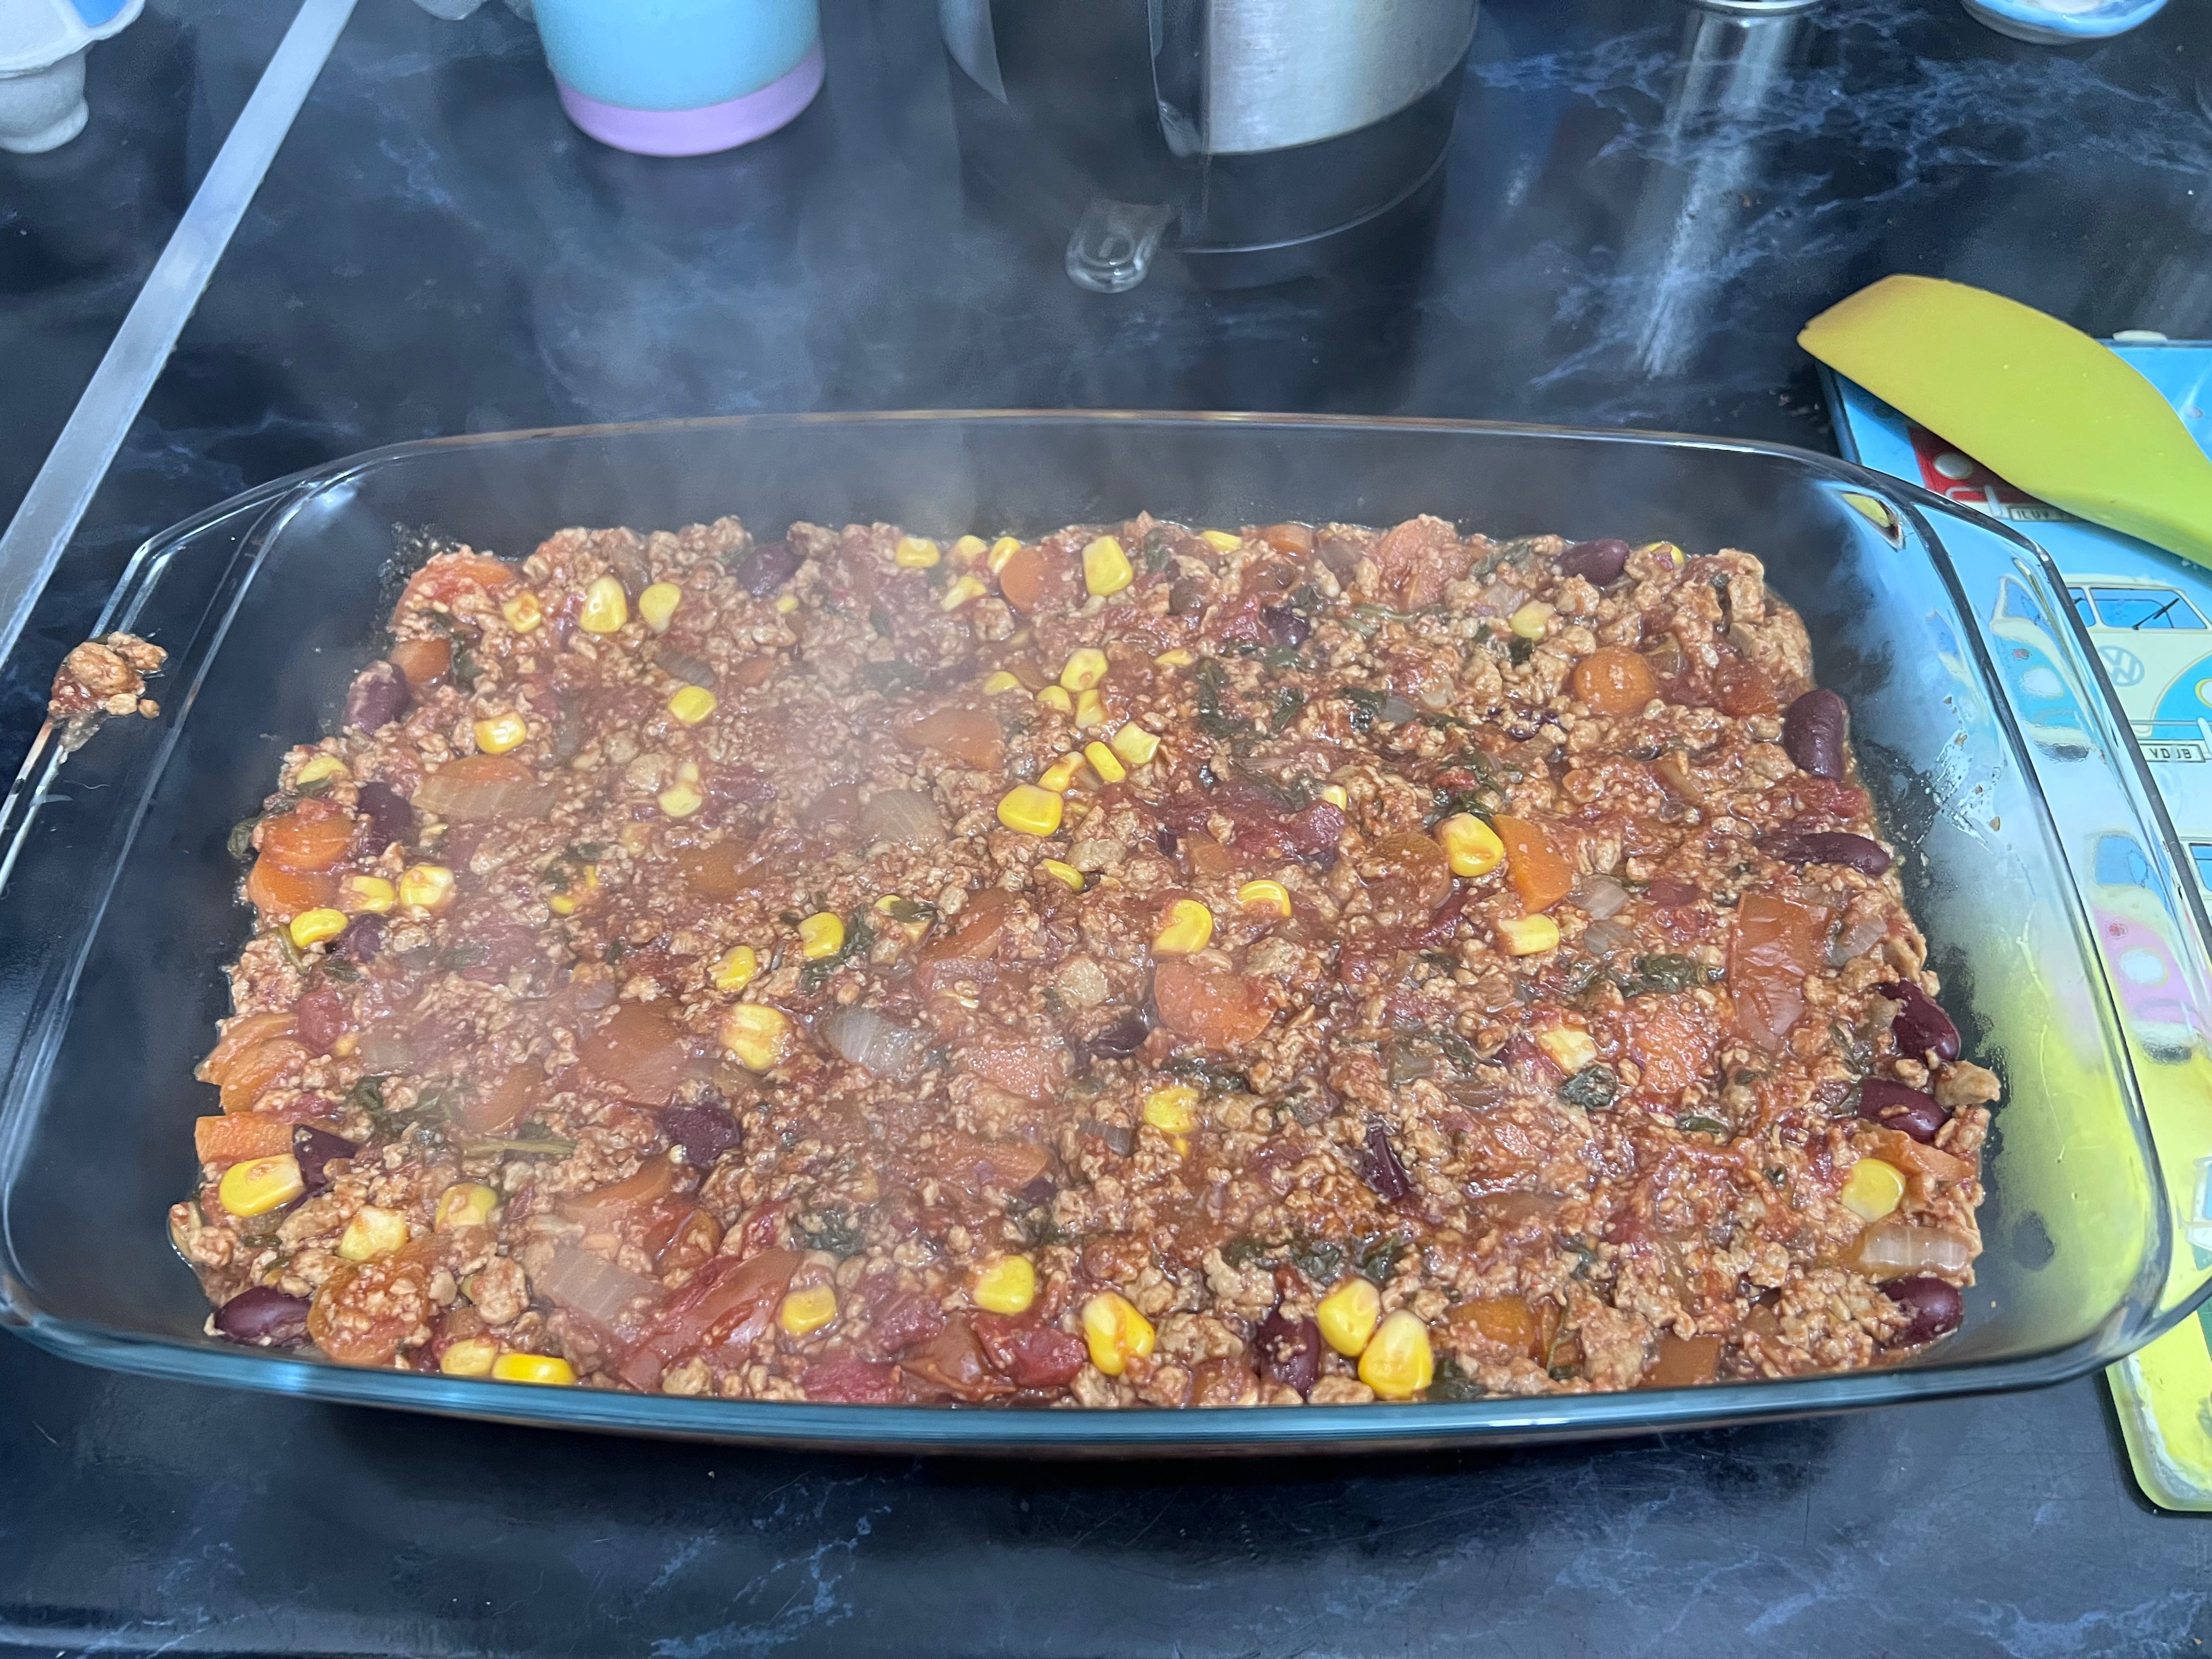
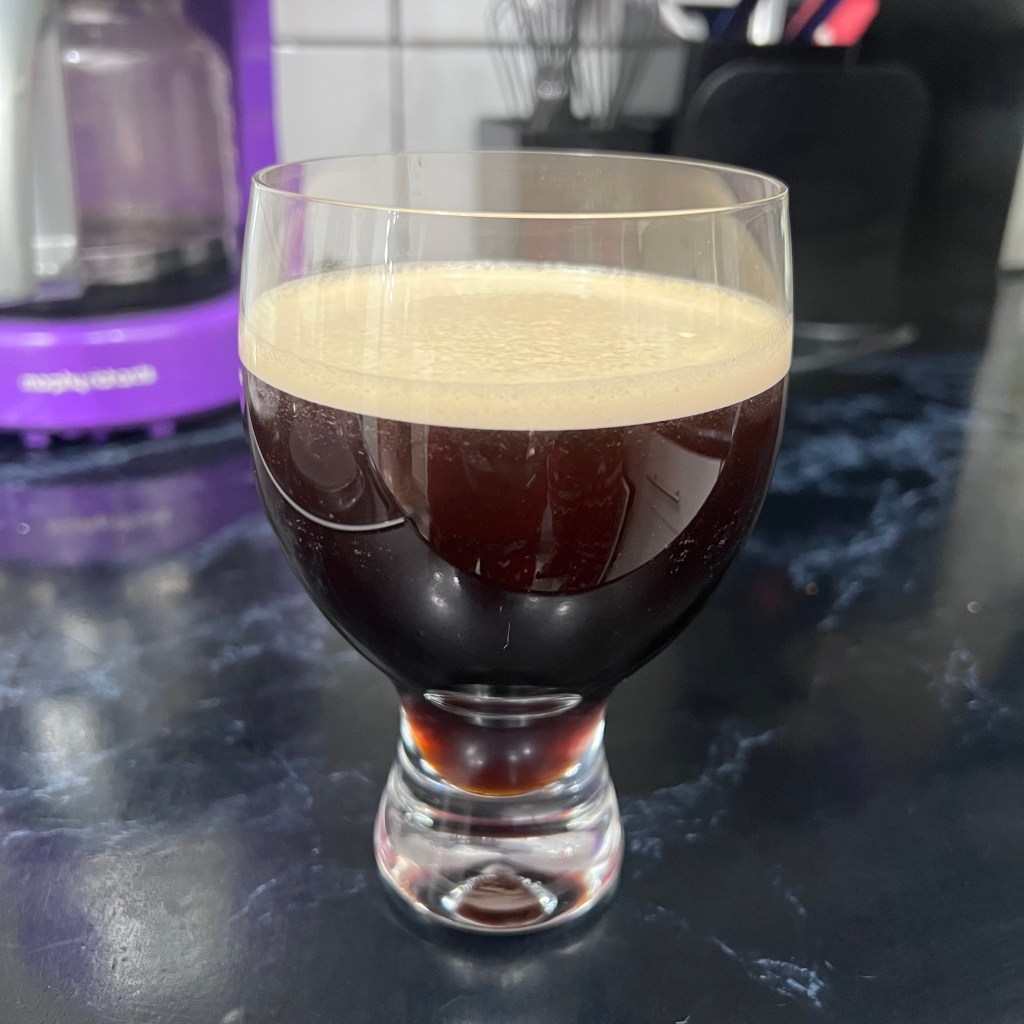
I had the day off from work and planned to do some blog work. Shane left for work around 8:30am, and I played Animal Crossing for a bit while watching Below Deck. I then started working on some blog ideas and set up a blog calendar for 2026. I’m still feeling a bit tired, so I had a nap from 1:45pm – 4:25pm. We had decided earlier in the week, as part of our meal plan, to have shepherd’s pie for tea, so I started to make that once I was awake. We had that for tea with peas and an espresso martini afterwards.

WEDNESDAY 7TH JAN
We woke up at 7:45am and had coffee before Shane headed off to work for the day. I played Animal Crossing before getting ready for work. Snow has been forecast between 12:00pm today and 12:00pm tomorrow, so work was manic with people panic-buying everything both in the shop and through our online services. I was shattered when I got home from work, so Shane and I had fish and chips for tea from the local takeaway.
THURSDAY 8TH JAN
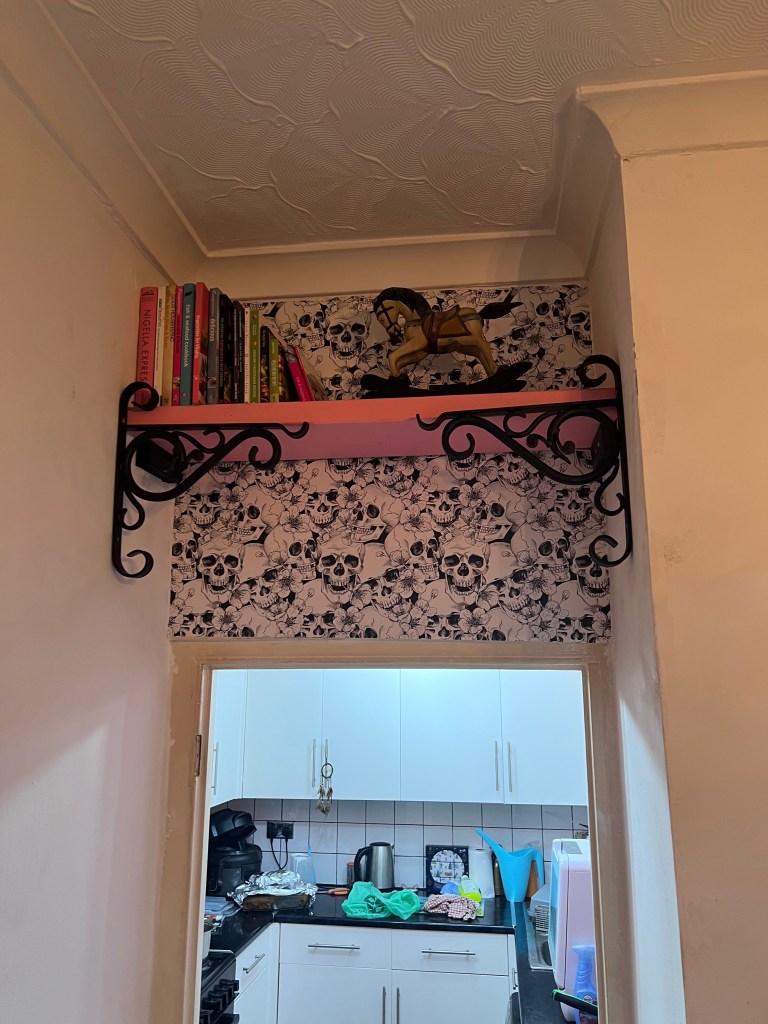
We woke up around 7:10 am and had coffee and cigarettes. There hadn’t been any snow, but it had been really cold in the night, and everything was frosty when we woke up, so Shane scraped the ice off his car and headed off for the day around 8:00am. We needed some things for decorating the dining area, so I placed an order with B&Q, including wallpaper, paint, brackets and a wallpaper hanging kit. I spent some more time on my blog calendar and did some laundry and other housework before heading to work for a 5:00pm to 10:00pm shift. Because snow was still forecast, people were still panic-buying, and the shop had been stripped bare of essentials by 7:00pm!
FRIDAY 9TH JAN
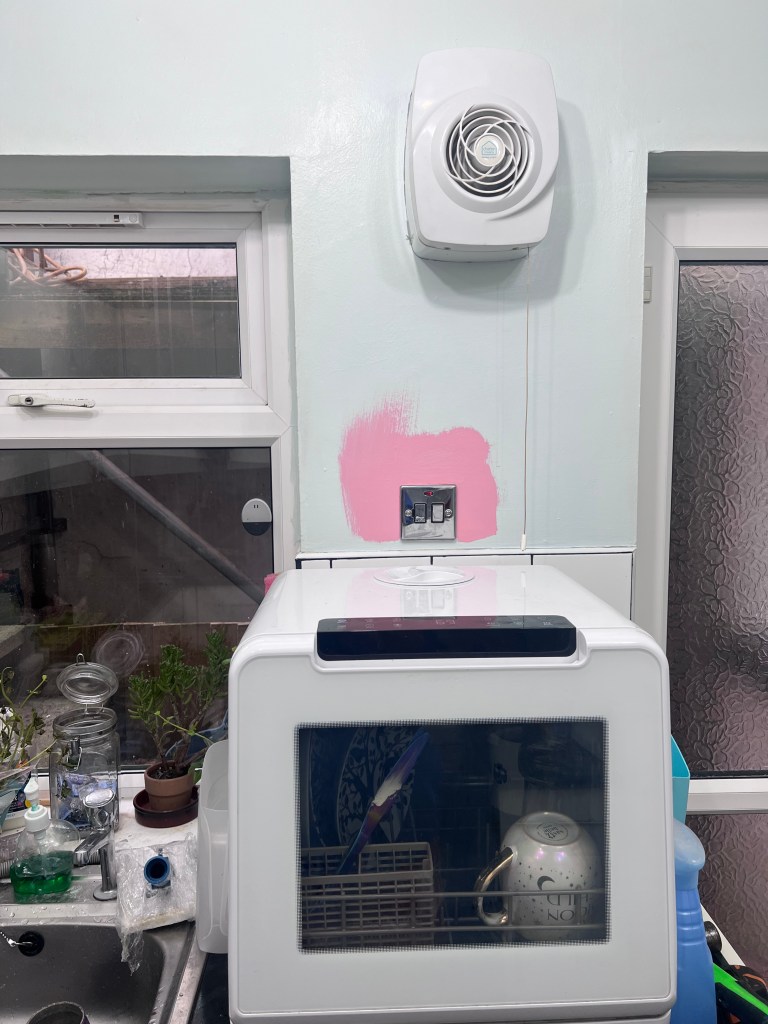
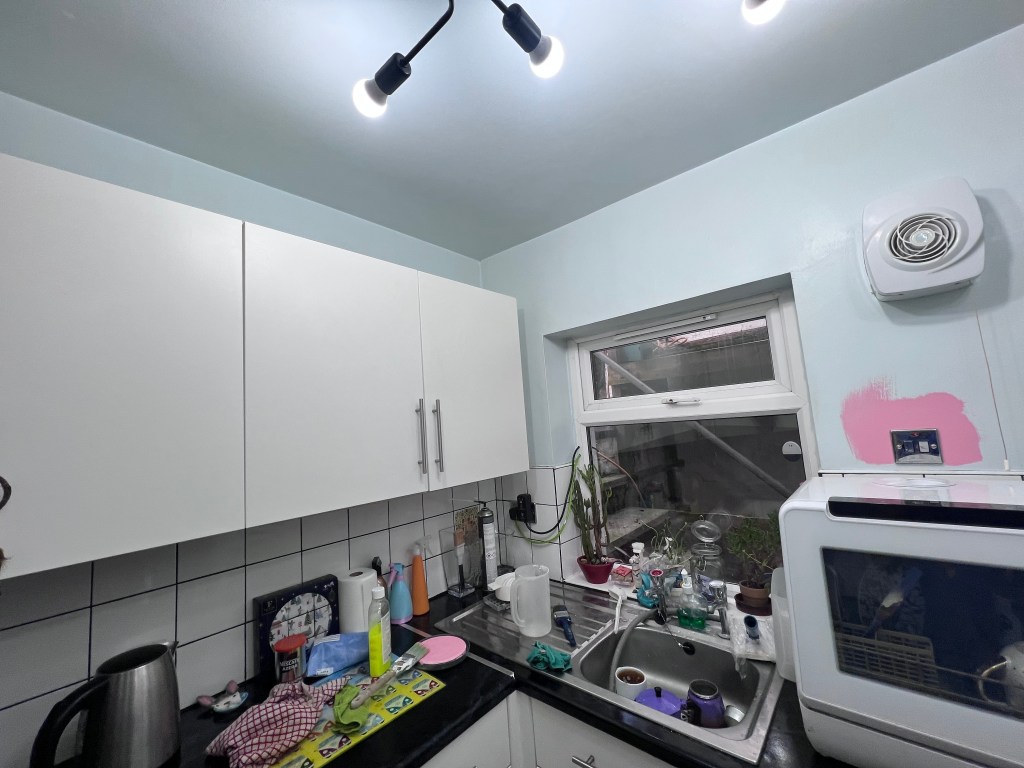
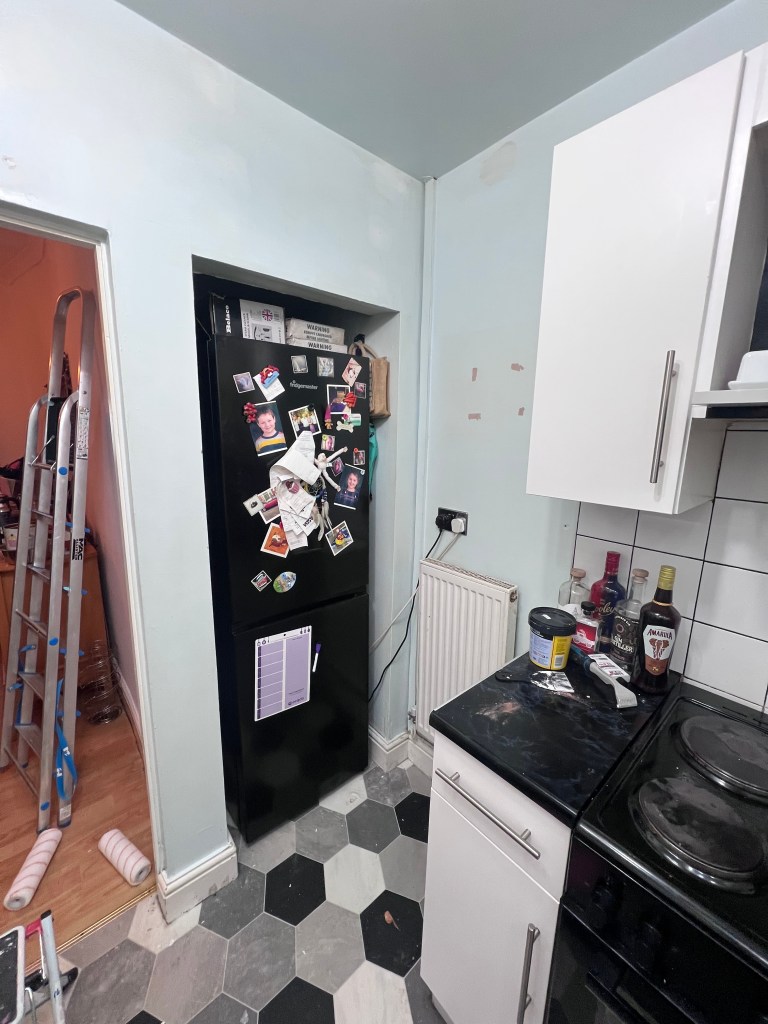
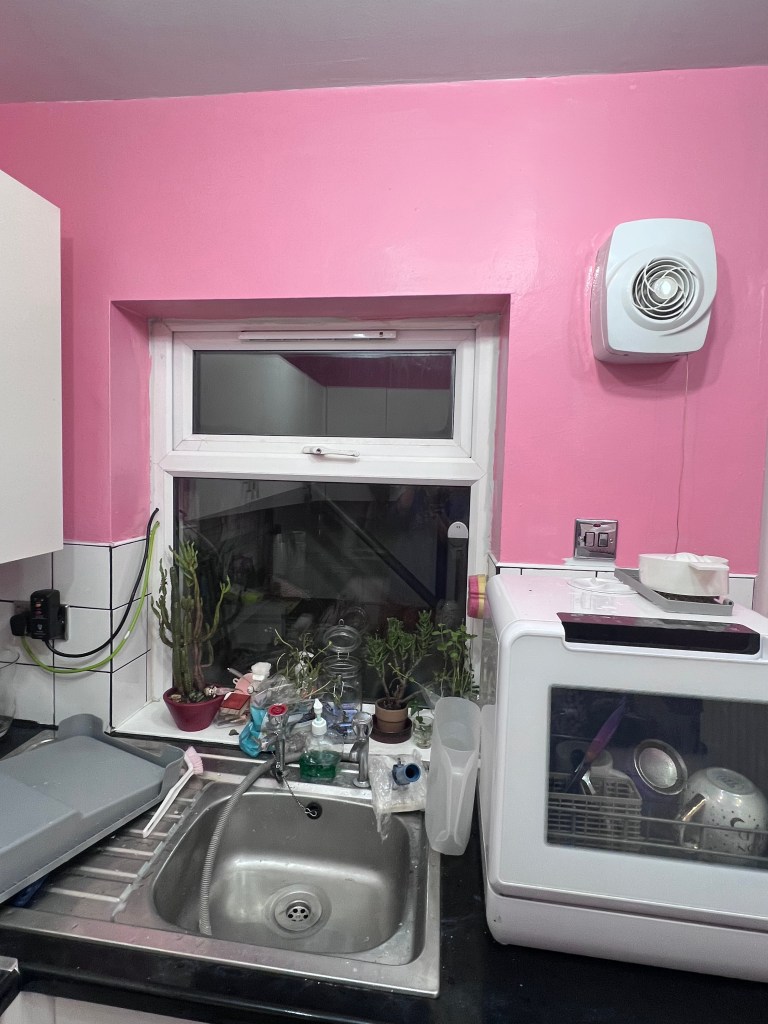
We got up at 6:40am and got ready for our work days. I worked an 8:00am – 2:00pm shift. I am still feeling ill and tired, so we had a nap when I got in from work for a couple of hours. The brackets that I had ordered from B&Q arrived, and I had a notification that the paint I had ordered for the kitchen was ready for collection, so we headed to B&Q to collect that. When we got home, Shane filled some holes, and we prepped the kitchen by washing the walls down with sugar soap, ready for tomorrow. We then sat and did some bullet journaling before heading to bed.
SATURDAY 10TH JAN
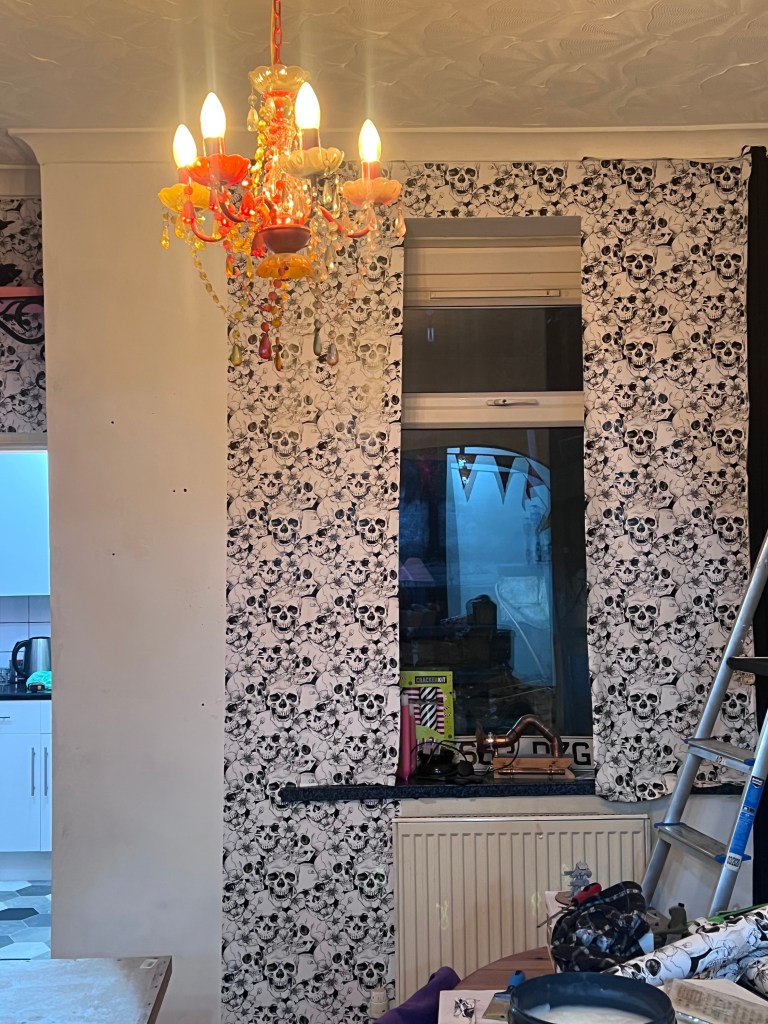
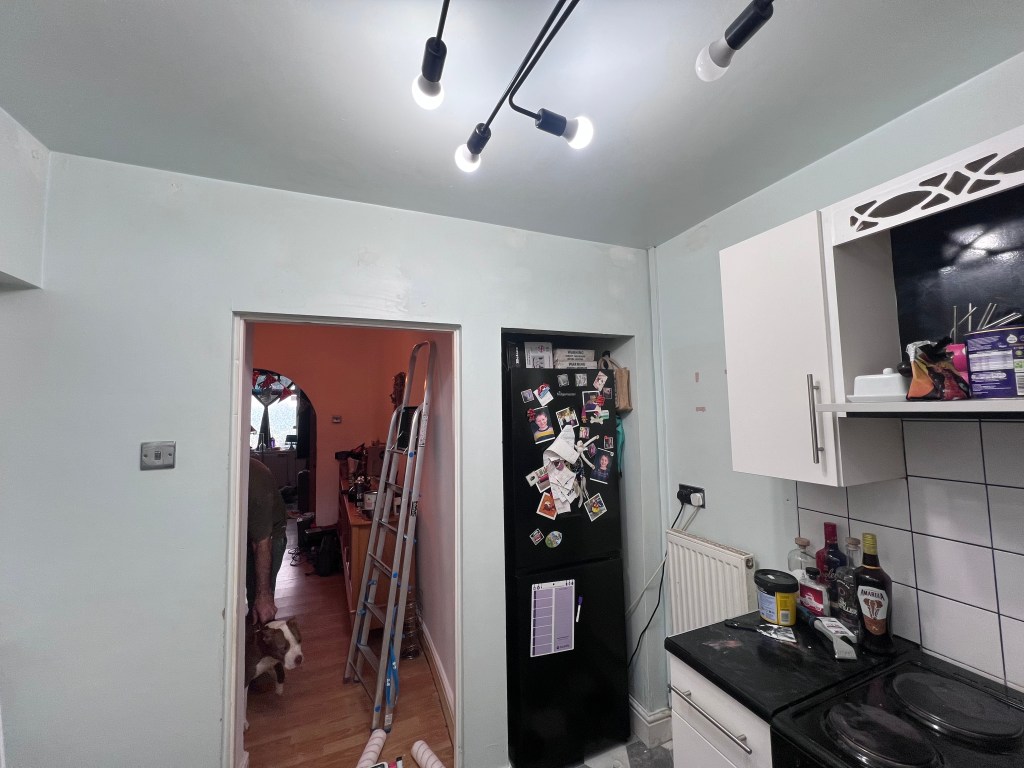
We were both off from work today, so we had a lie-in and didn’t get up until 11:20am! After a lazy morning, I booked myself in for a dreadlock maintenance and detox session with Threadloxx. The wallpaper I’d ordered was delivered from I Love Wallpaper, so I can start that tomorrow. We painted the kitchen, and Shane put up the brackets that had come yesterday. We did some more bullet journaling and watched Ghostbusters: Frozen Empire in the evening.

SUNDAY 11TH JAN
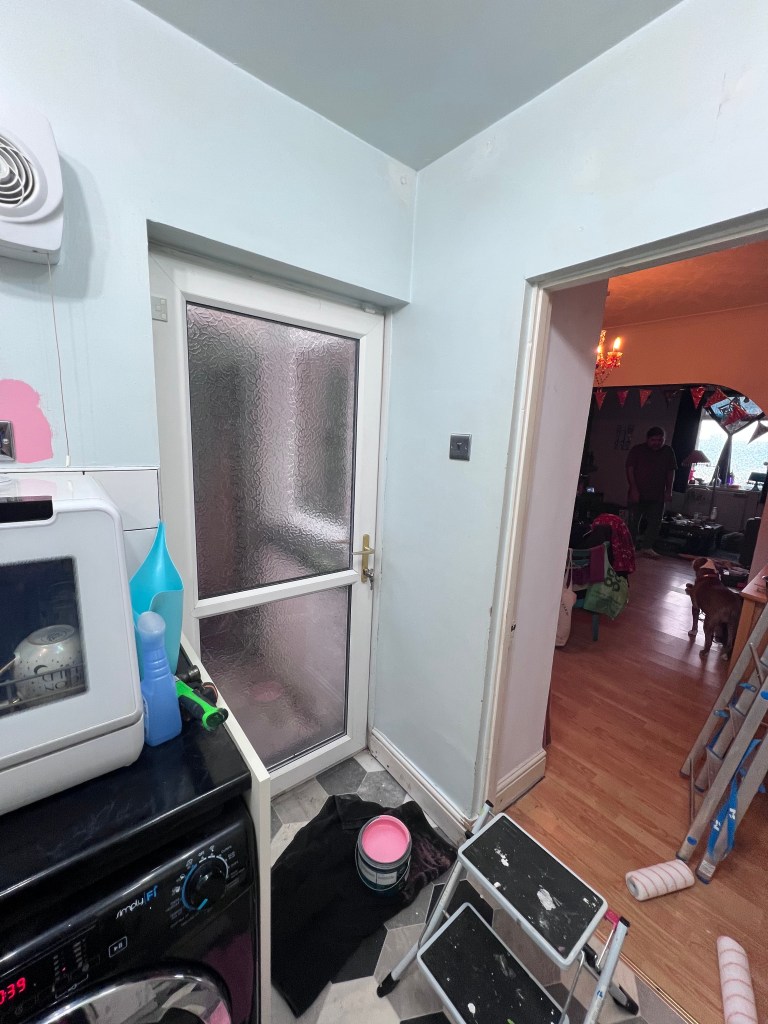
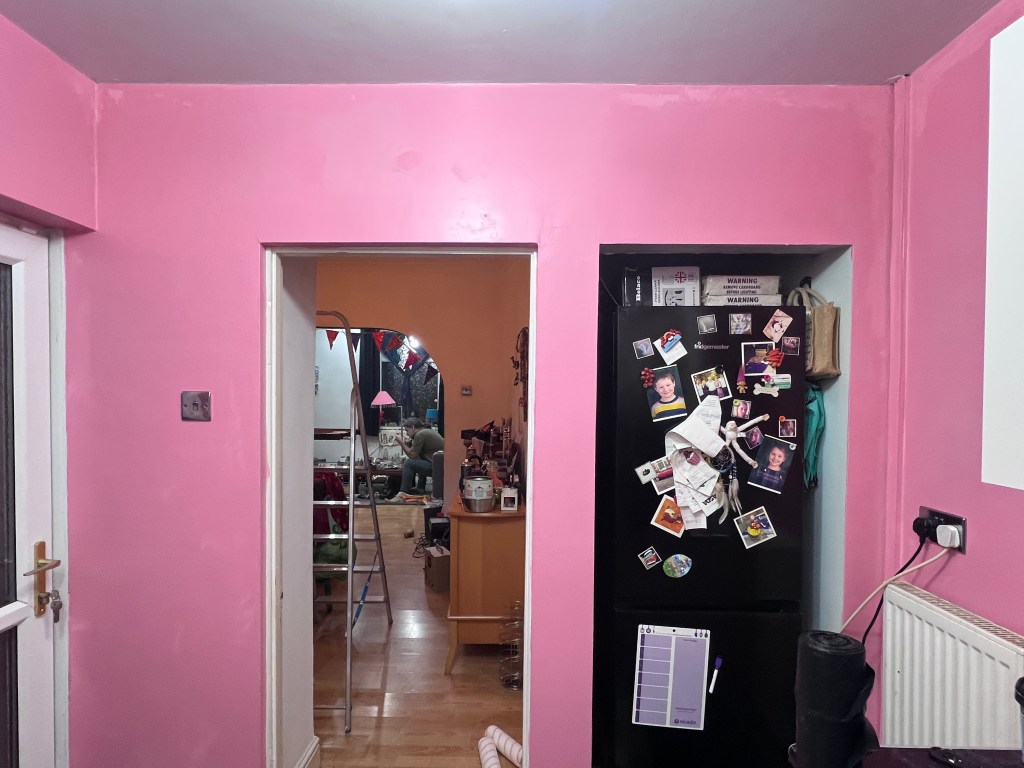
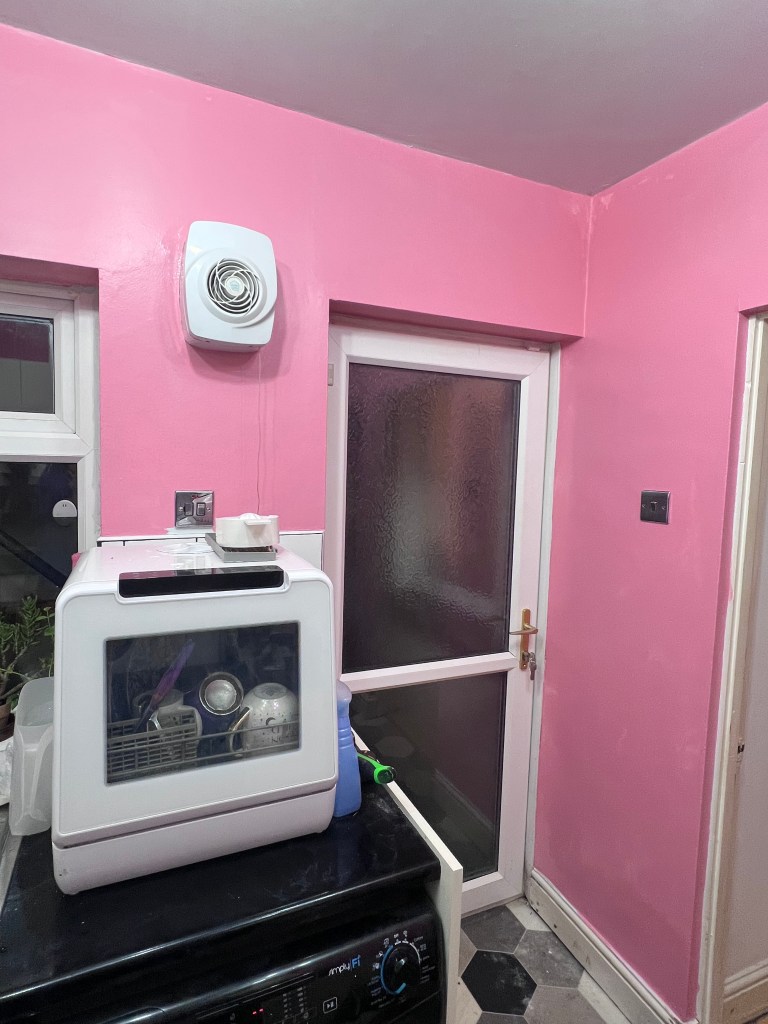
We got up at a more respectable time of 9:45am today, though I still feel a bit tired and ill. Some more of my B&Q order was due to arrive between 10am and 12pm, so we didn’t want to miss that by lazing around in bed! The items got delivered at 11:00am, so Shane did another coat of paint on the kitchen walls while I painted the skirting boards and trunking in the dining area. Once the paint was dry, Shane helped me to hang the wallpaper on the back wall in the dining area. We had salmon fillets, new potatoes, mixed veg and parsley sauce for tea and watched some Taskmaster before heading to bed.