

MONDAY 12TH JAN
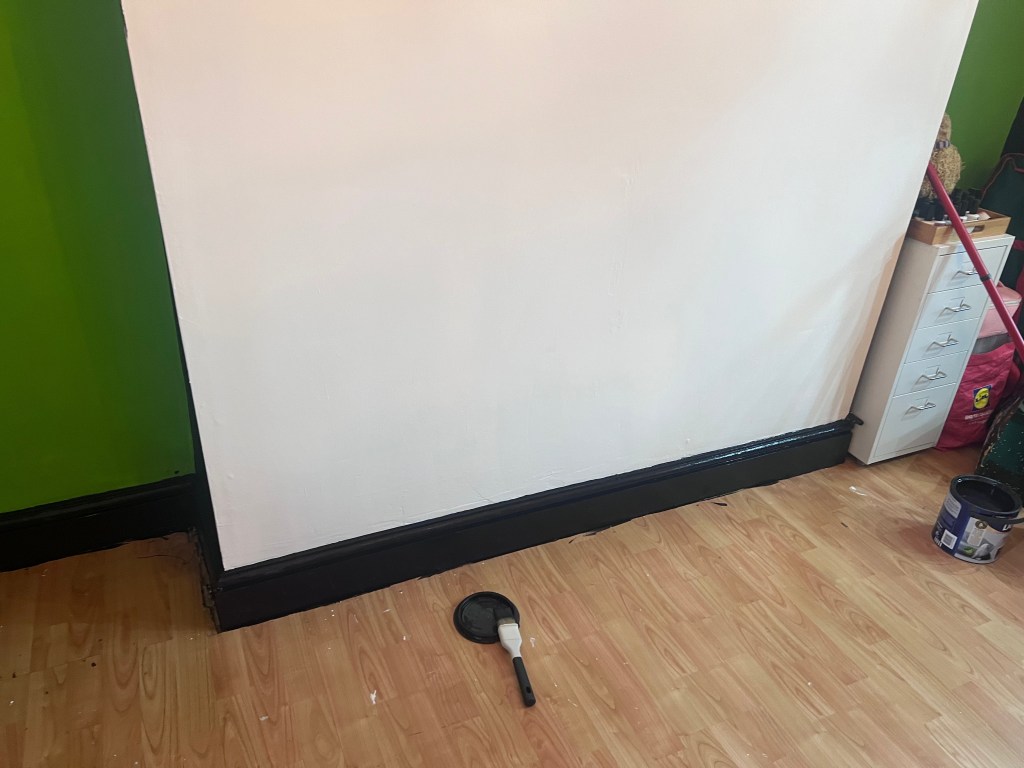
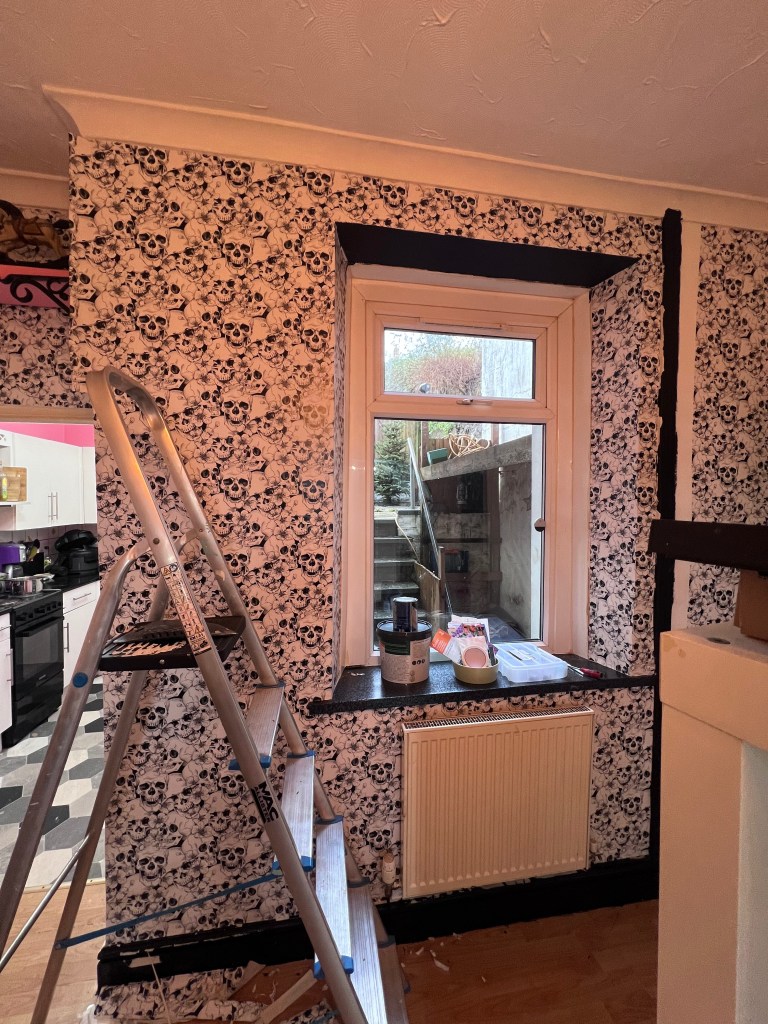
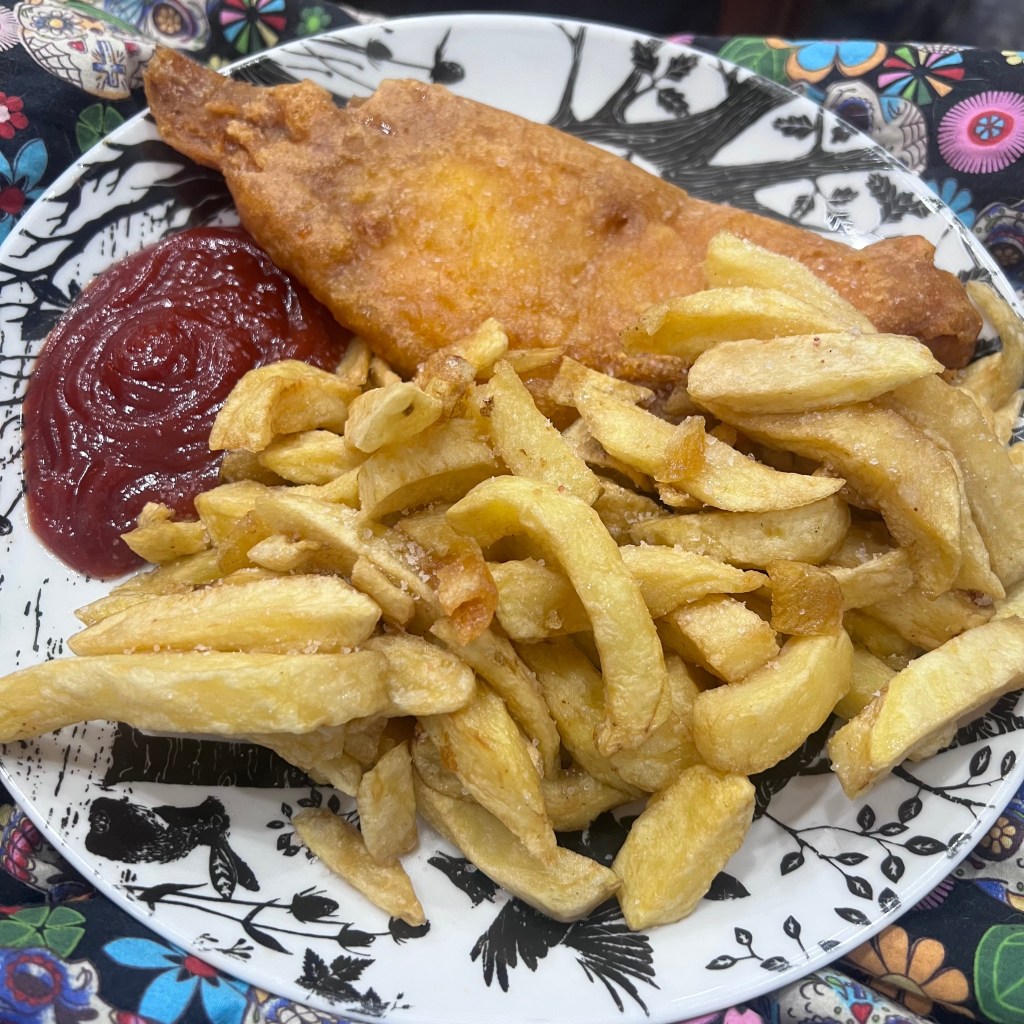
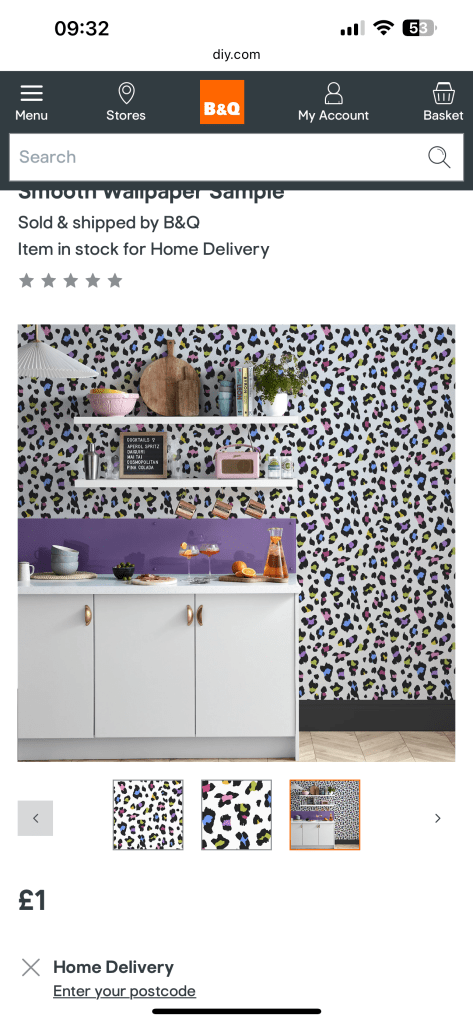
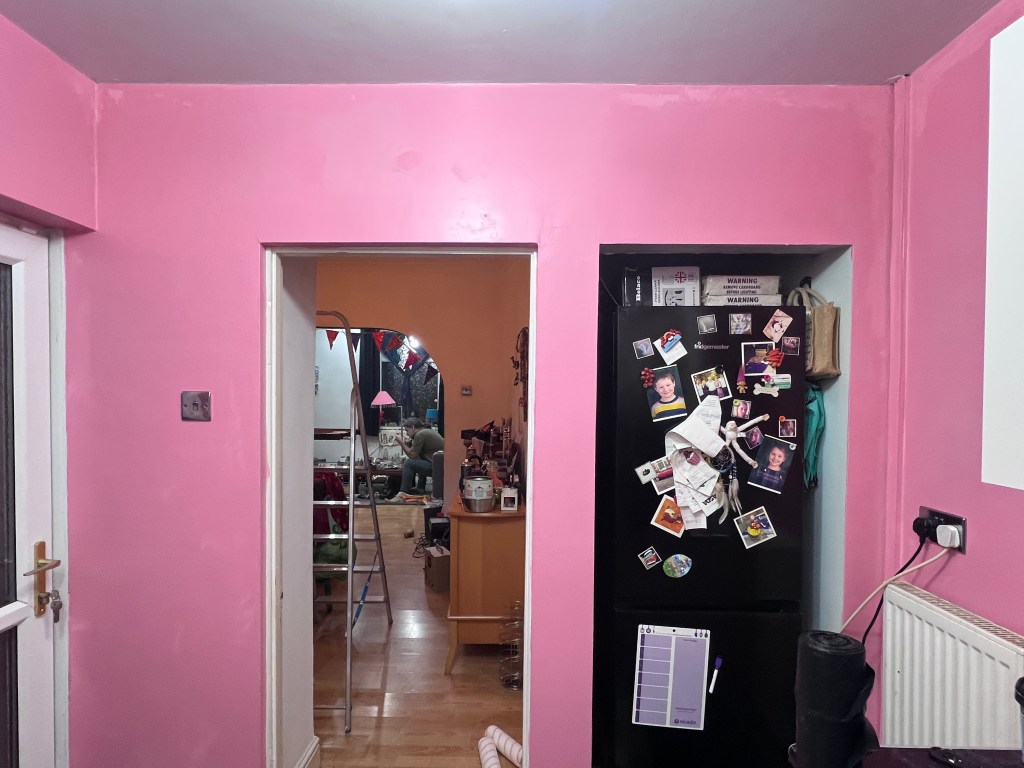
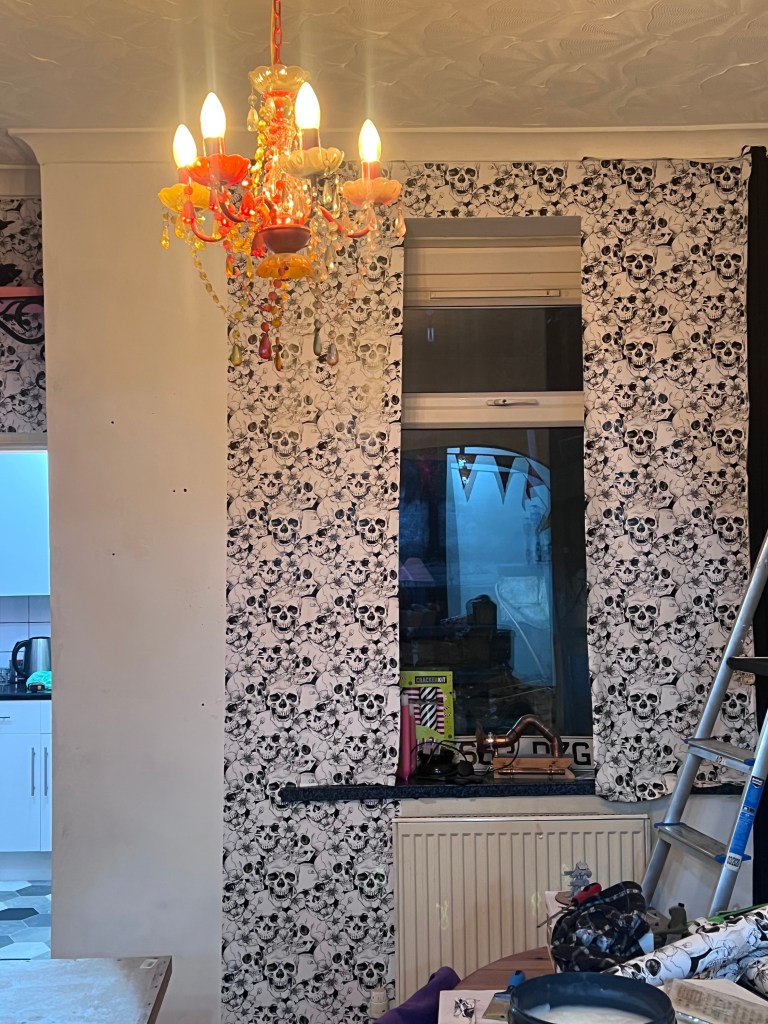
I’ve got a few days off from work, so I decided to start painting the skirting boards in the dining area. Whilst the paint was drying, the wallpaper hanging kit I’d ordered from B&Q arrived! Once the skirting was fully dry (and with the proper tools!) I decided to hang the accent wallpaper strips and finished wallpapering the back wall in the dining area. When Shane came home from work, we decided to have fish and chips from the local chippy for tea!
TUESDAY 13TH JAN
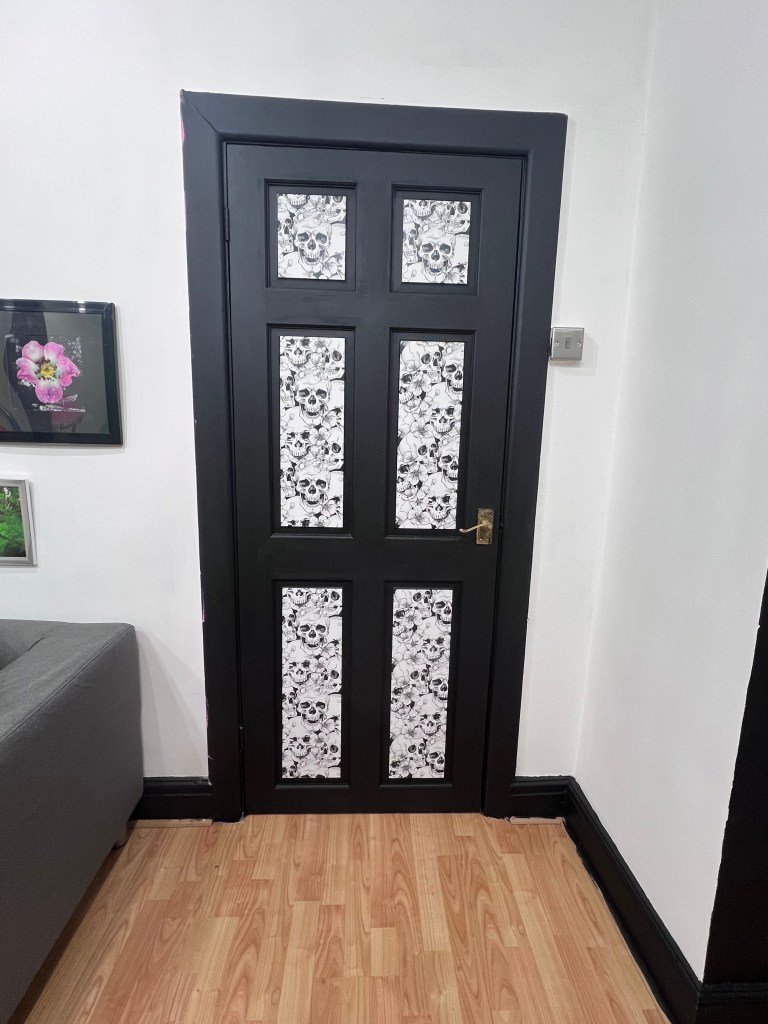
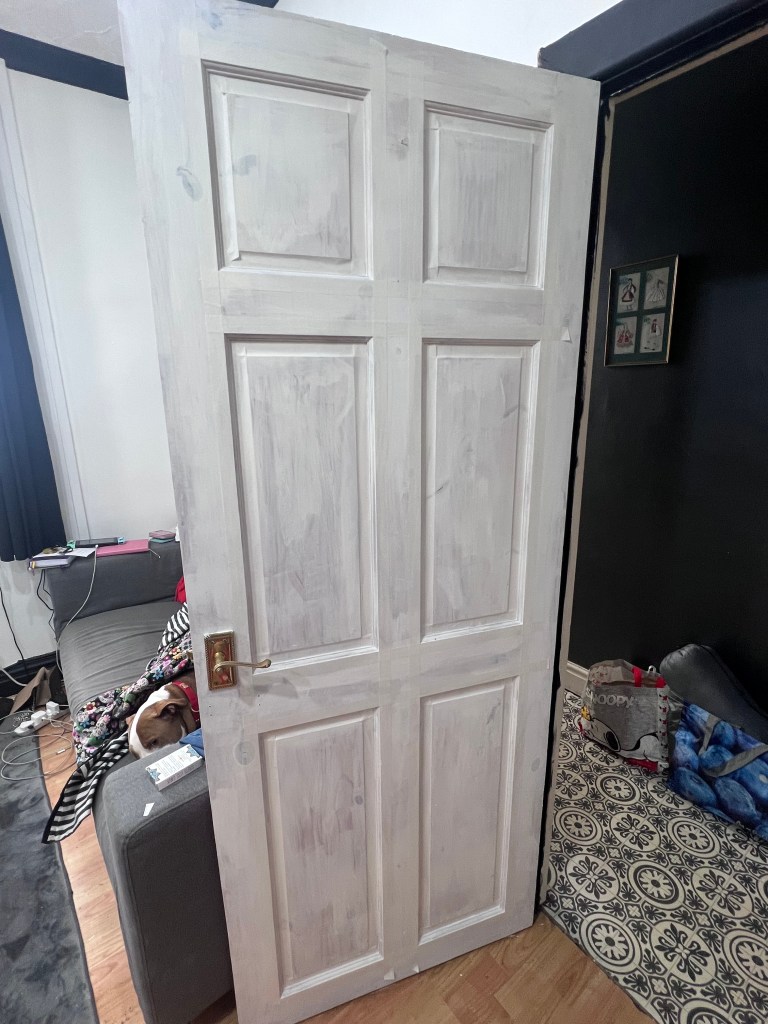
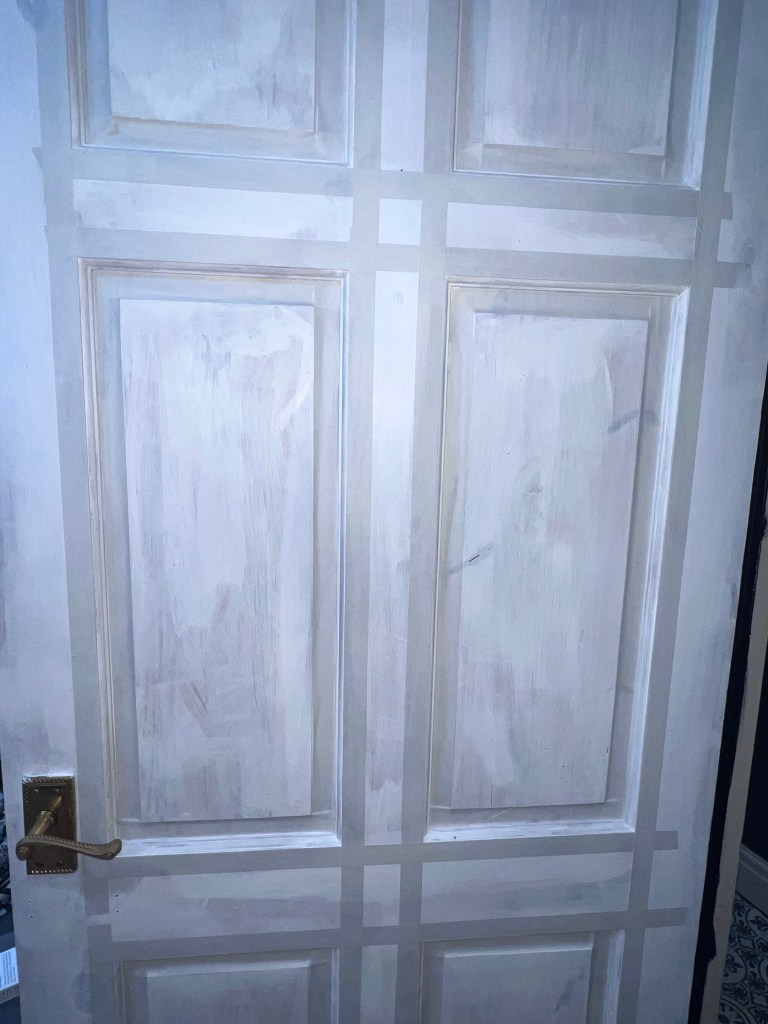
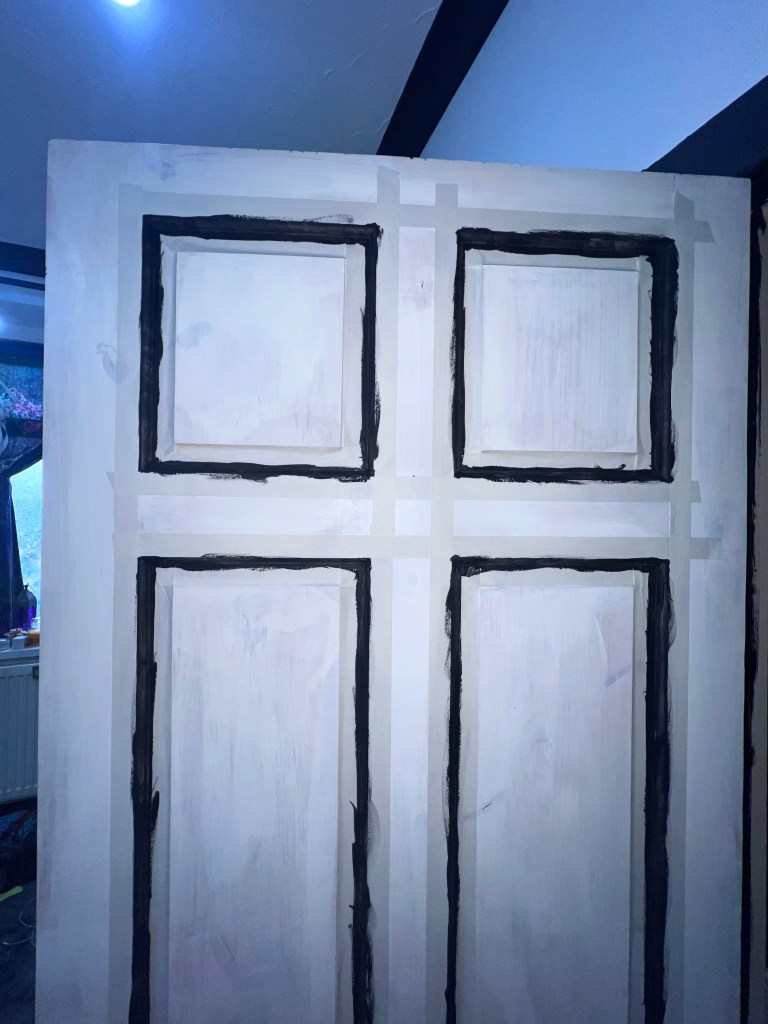
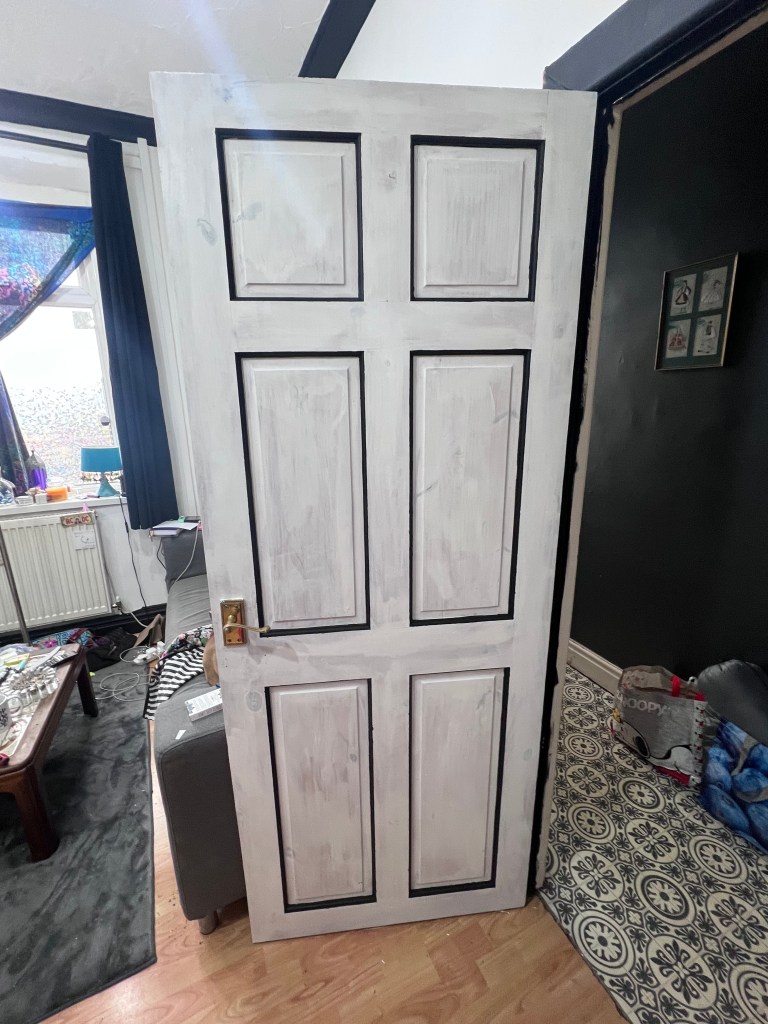
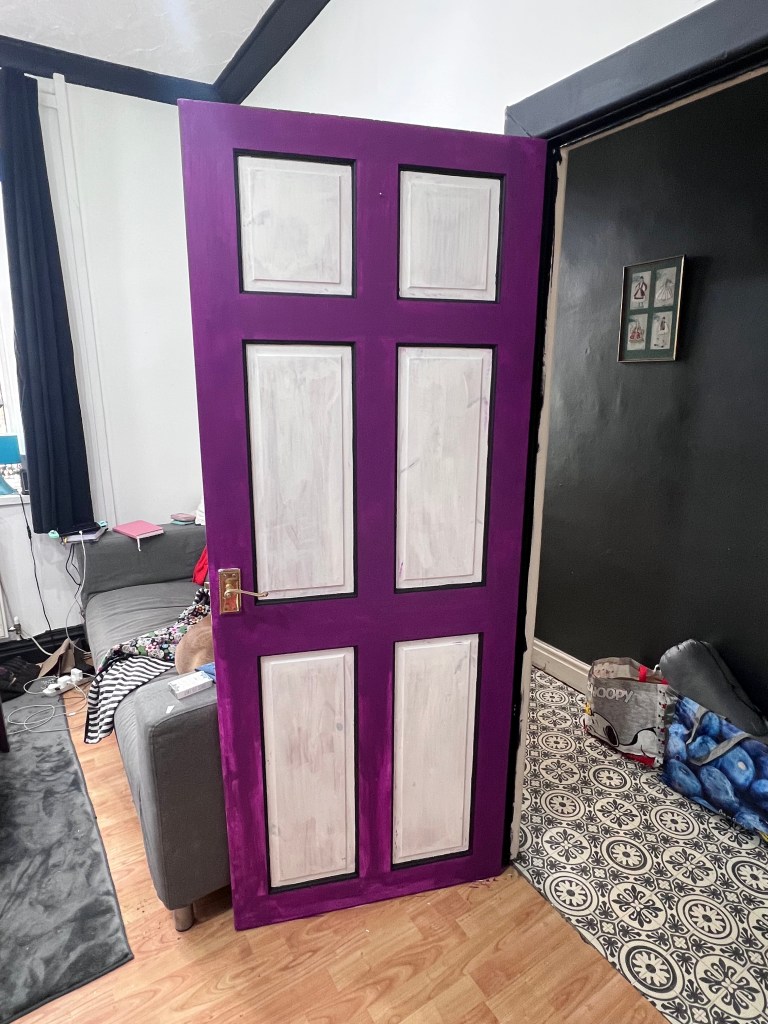
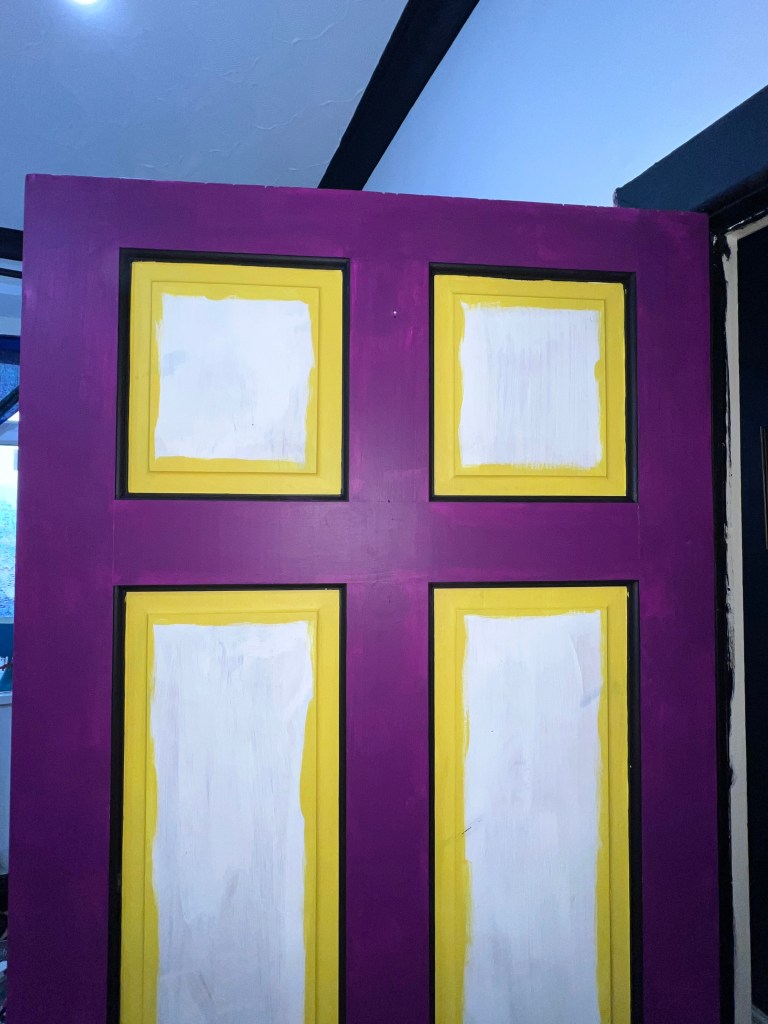
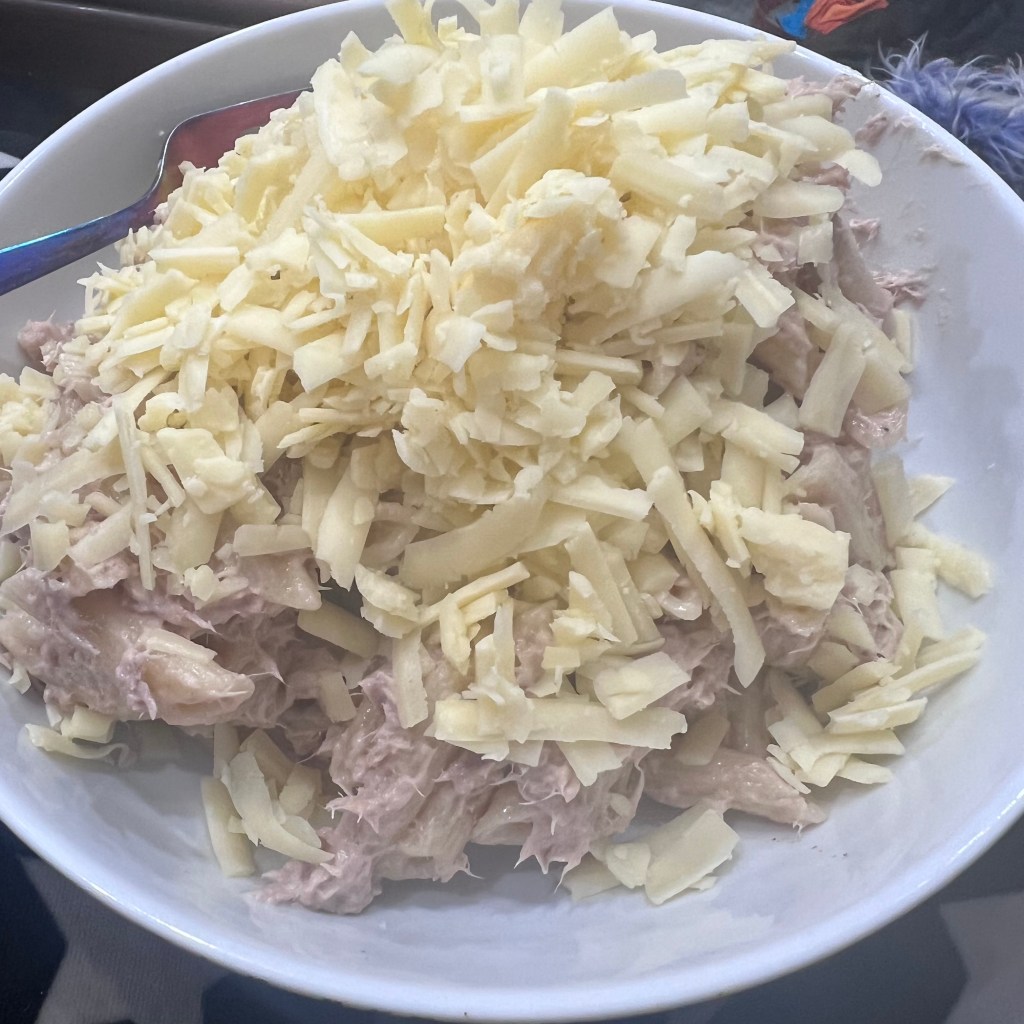
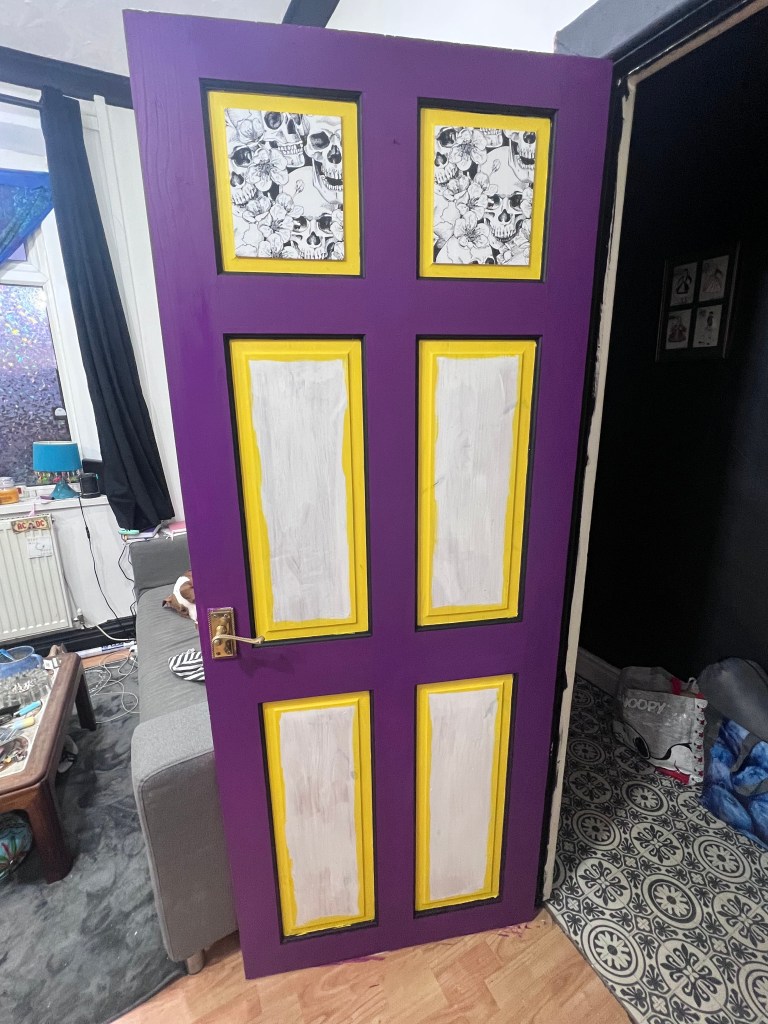
Another day off and another decorating day! I’ve already painted the inside of the corridor/living area door (I’ll add a pic below so you can see it!), and I have decided to paint the other side of it today. I spent some time base coating it with white paint, and when that was dry, I masking taped it up before getting stuck in with the accent colours. I chose Valspar Found Treasure (a bright yellow) that I’d had mixed as a tester, and Dulux Rich Black for the details on the door and am painting the rest of the door in B&Q Tough and Durable paint in Shizouka using a tester pot. The door needed more than one coat of Shizouka, so after Shane returned from work, we headed to B&Q to pick up some more. While we were there, we also had a look at some new kitchen door handles and kitchen taps. When we came home, we made tuna pasta that we had for tea.
WEDNESDAY 14TH JAN
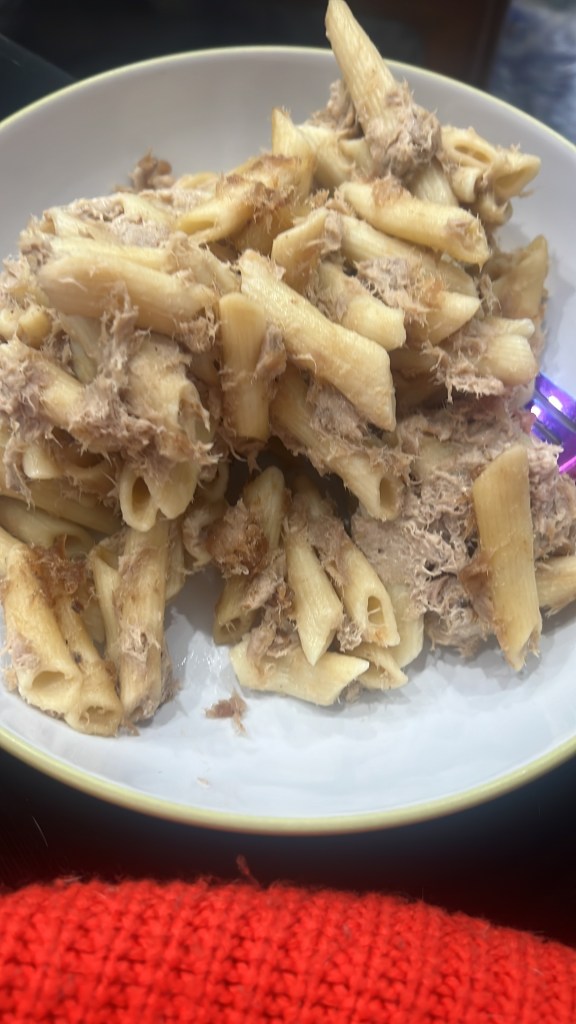
I had a quiet morning and began exploring decorating ideas for the upstairs area, now that the downstairs is nearing completion. I worked from 12:00pm to 4:00pm. Shane is away for a few days and will be coming home on Friday, so I had left over tuna pasta for dinner and caught up on some TV. I also booked some leave from work as we are planning some time away in February and March. Once Shane had arrived at his hotel, we had a cute evening playing Animal Crossing online and visited each other’s islands, which was fun.


THURSDAY 15TH JAN
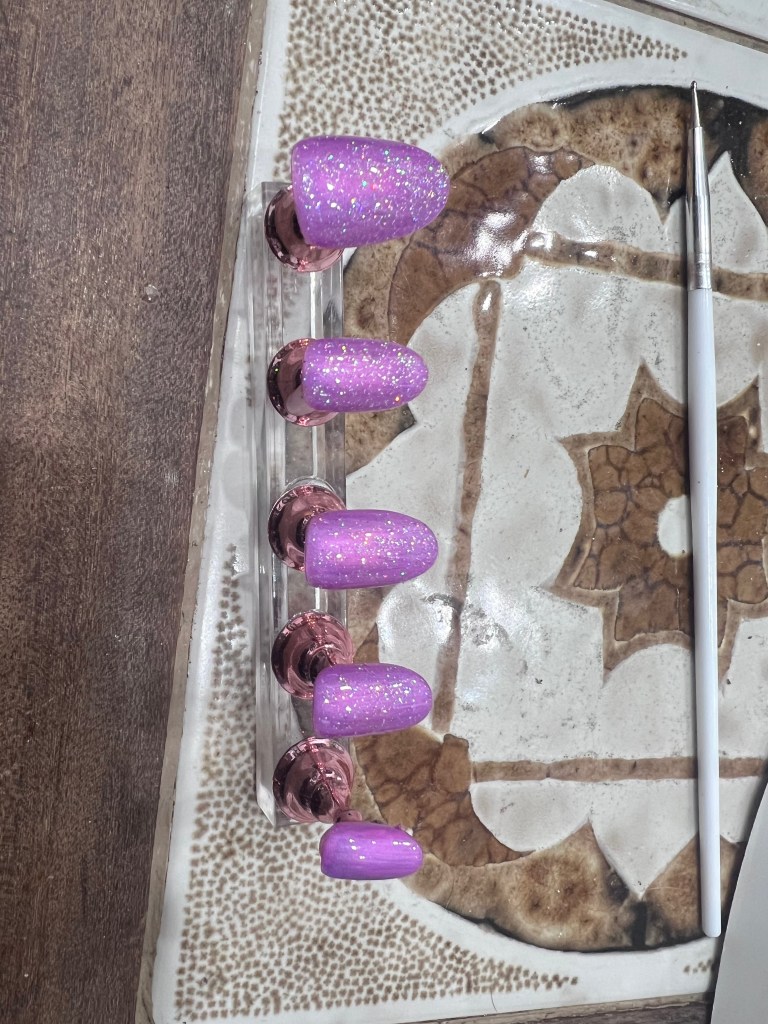
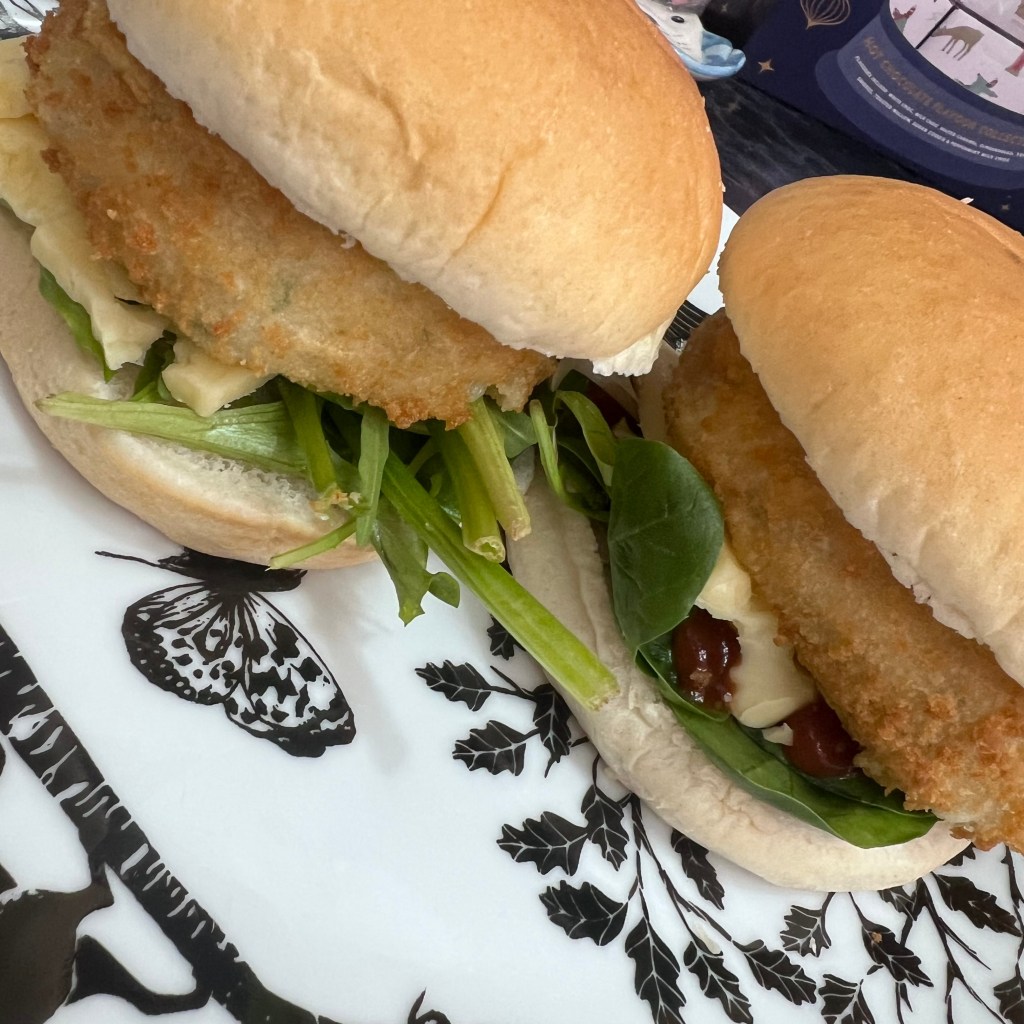
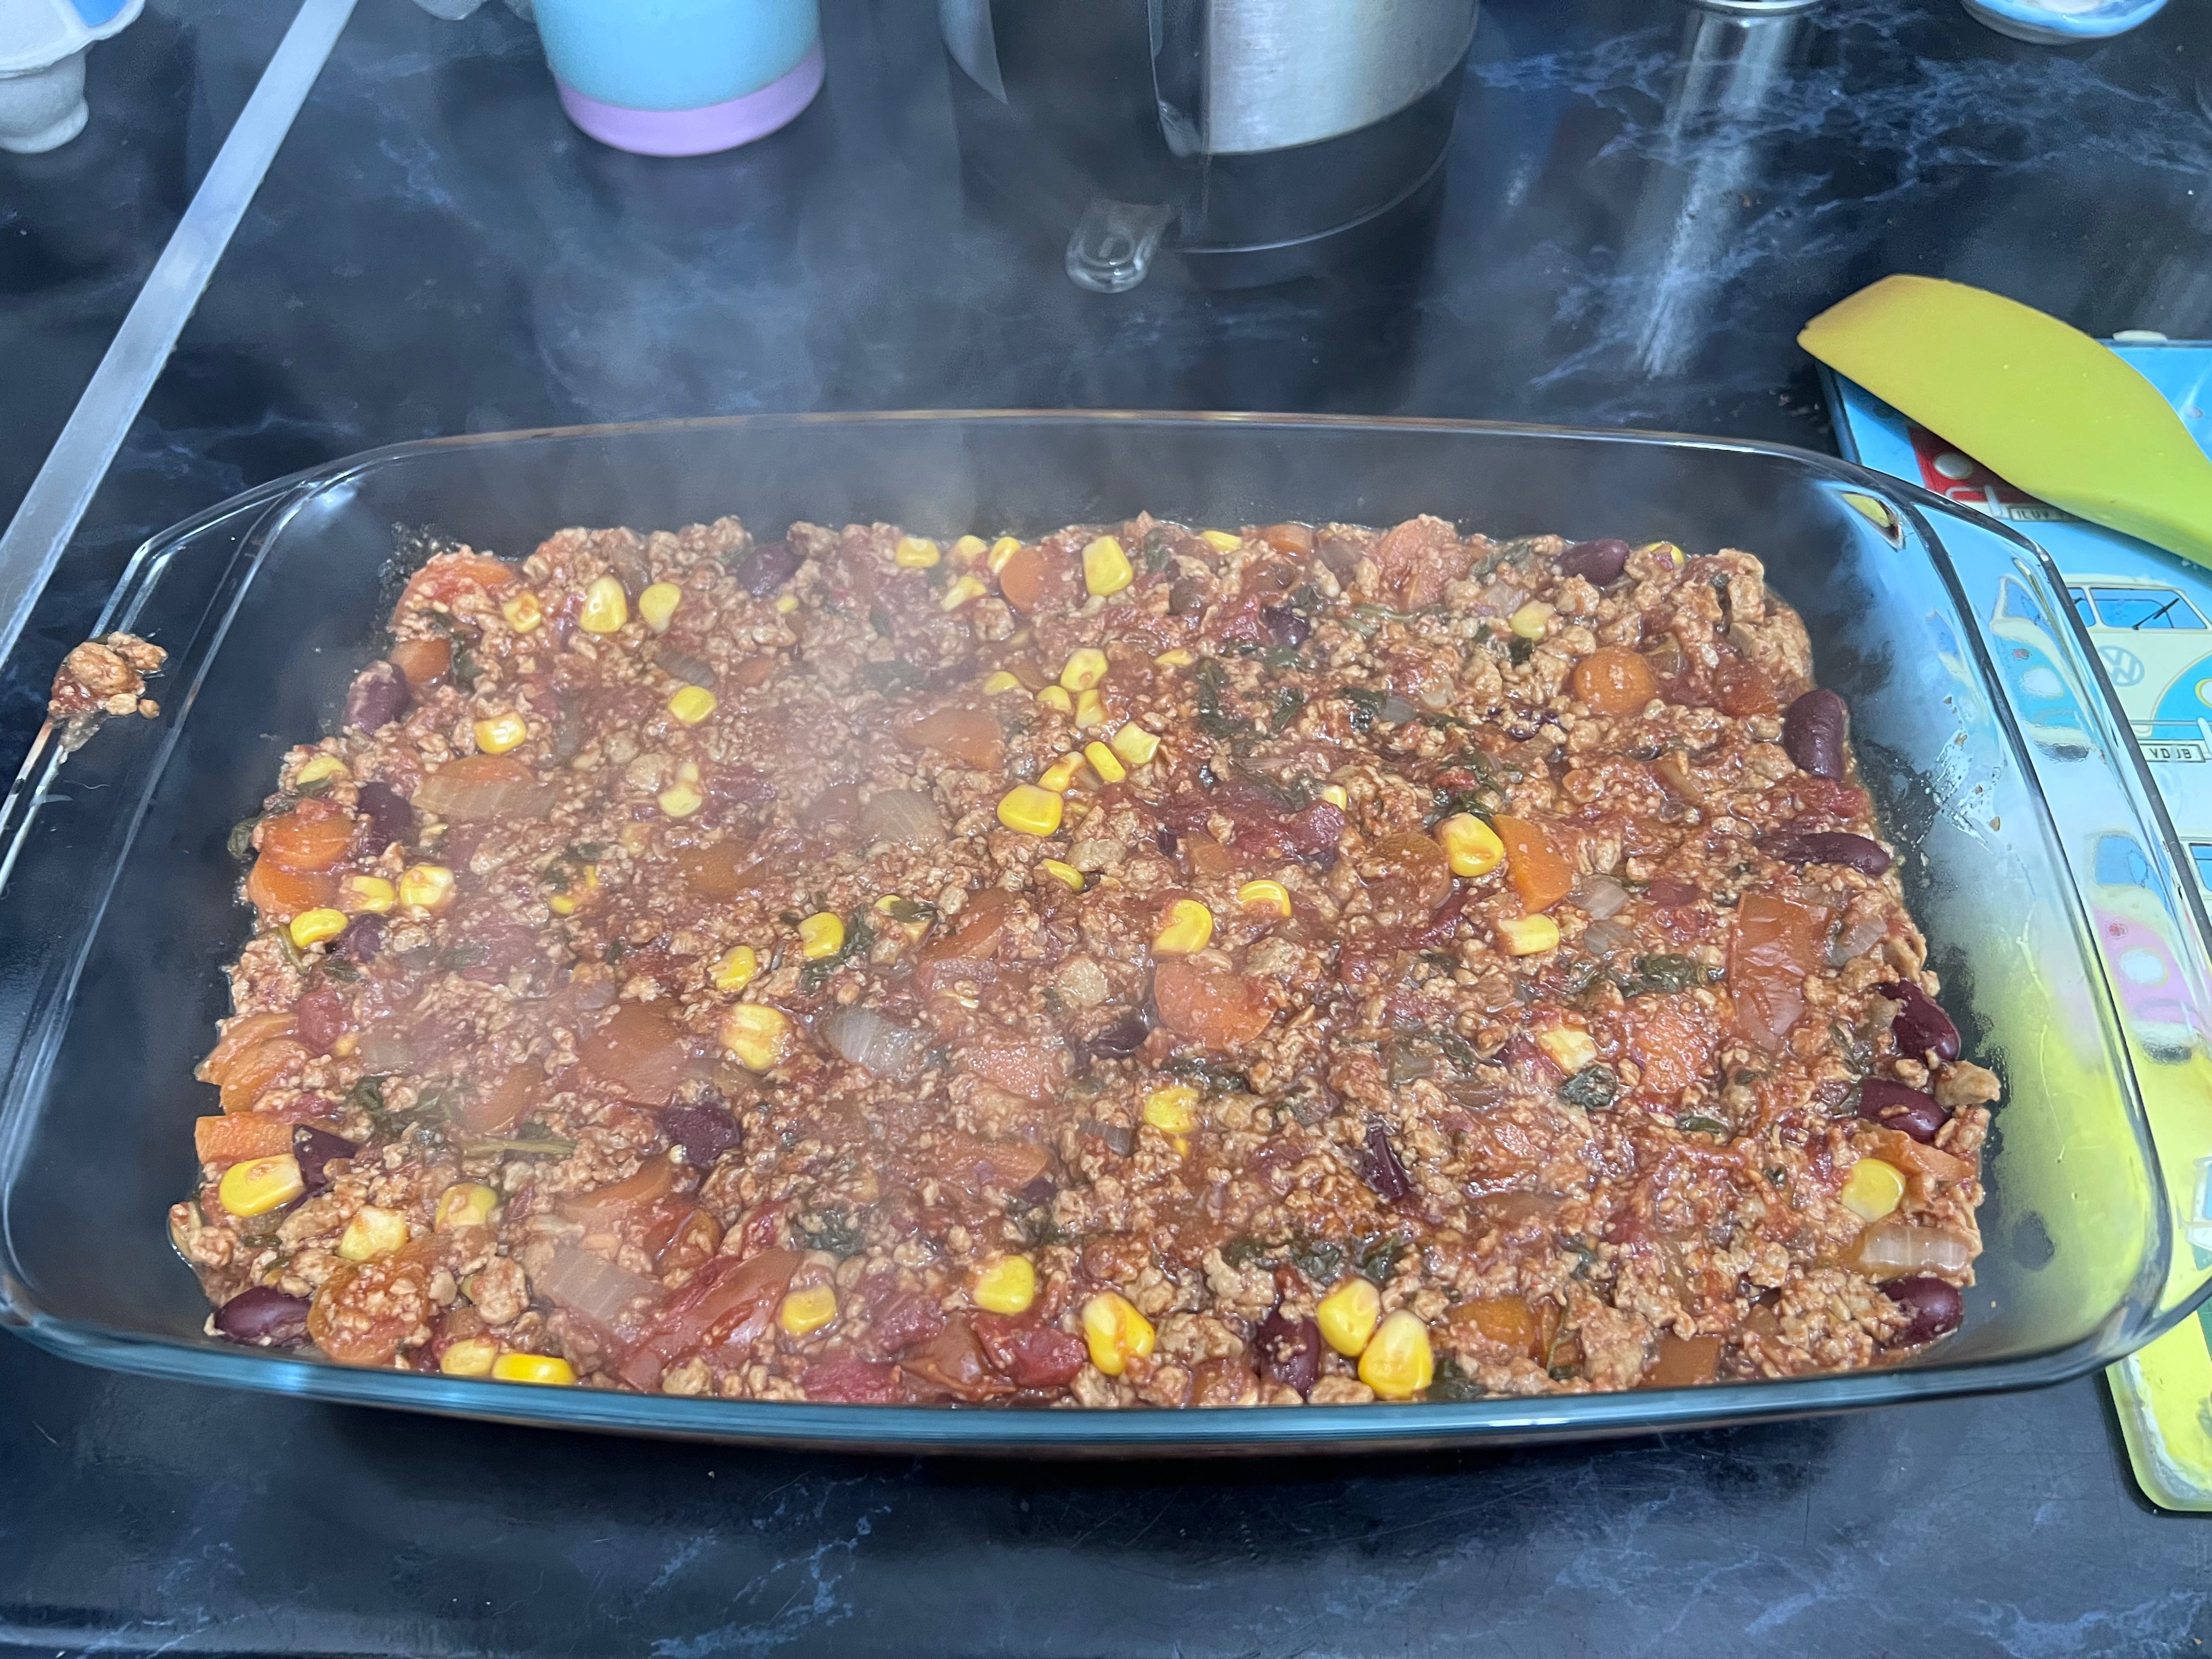
I had the day off today and had no real plans aside from painting another coat on the door. My best friend had borrowed my car over Christmas and dropped it back to me. We had a coffee before popping up to his for another coffee and to see my baby boy, Zeus. I went to B&Q to look at paint samples for an idea I have got for the stairs in the house, before deciding that opting for wood stain would be the better option, so I picked up a sample sheet of different stains available. I also popped into TkMaxx to pick up some shower gel, new graphic liner pens and some coffee beans. I also got a new perfume as my favourite Lush one was running out. I stopped off on my way home at Aldi, where I got some groceries for tea. When I got home, I put another coat of paint on the door as the purple was still looking a bit patchy and started to add the wallpaper to the panels, then I did my nails. After that, I had a bath and read my book before making my tea of cauliflower and cheese bakes in buns with salad.


FRIDAY 16TH JAN
I had a massive lie-in and got up at 10:45am! Shane was travelling home today, and we decided to play Animal Crossing online while he was on the train back. I picked him up from the station at 1:30pm. I had work from 5:00pm to 10:00pm, so I started getting ready for my shift after we had coffee. We had spinach and ricotta stuffed pasta with tomato and marscapone cheese sauce topped with fresh parmesan shavings (yum!) for tea after I’d finished work, as it was quick and easy to prepare, and both of us were pretty tired after our day.

SATURDAY 17TH JAN
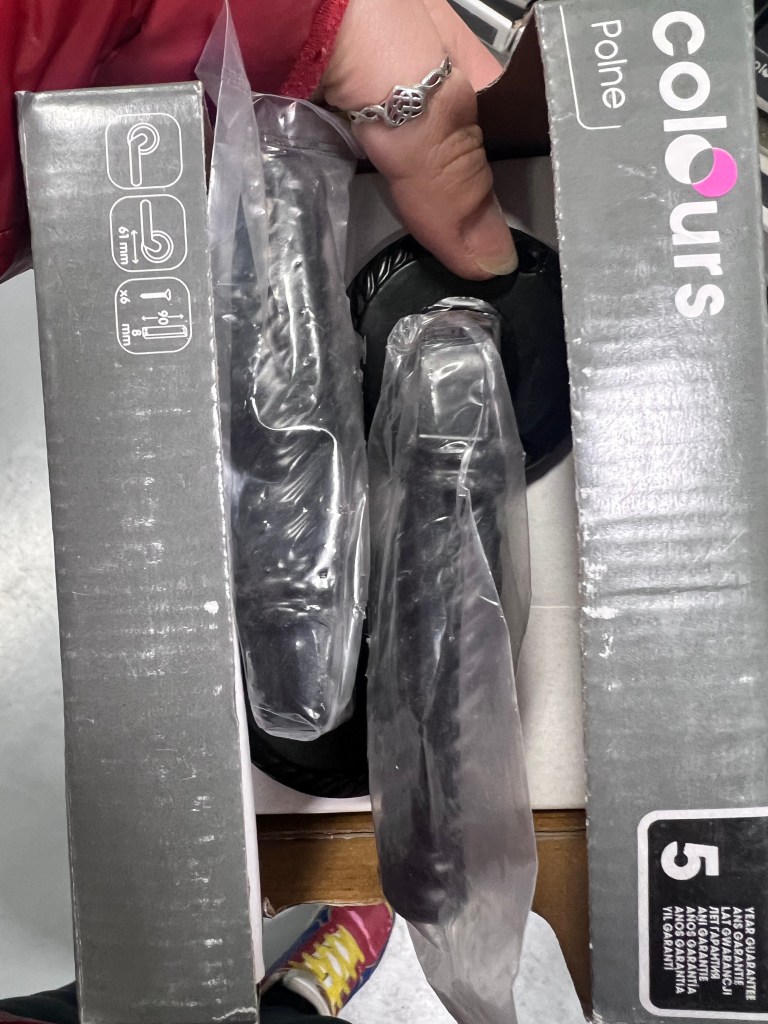
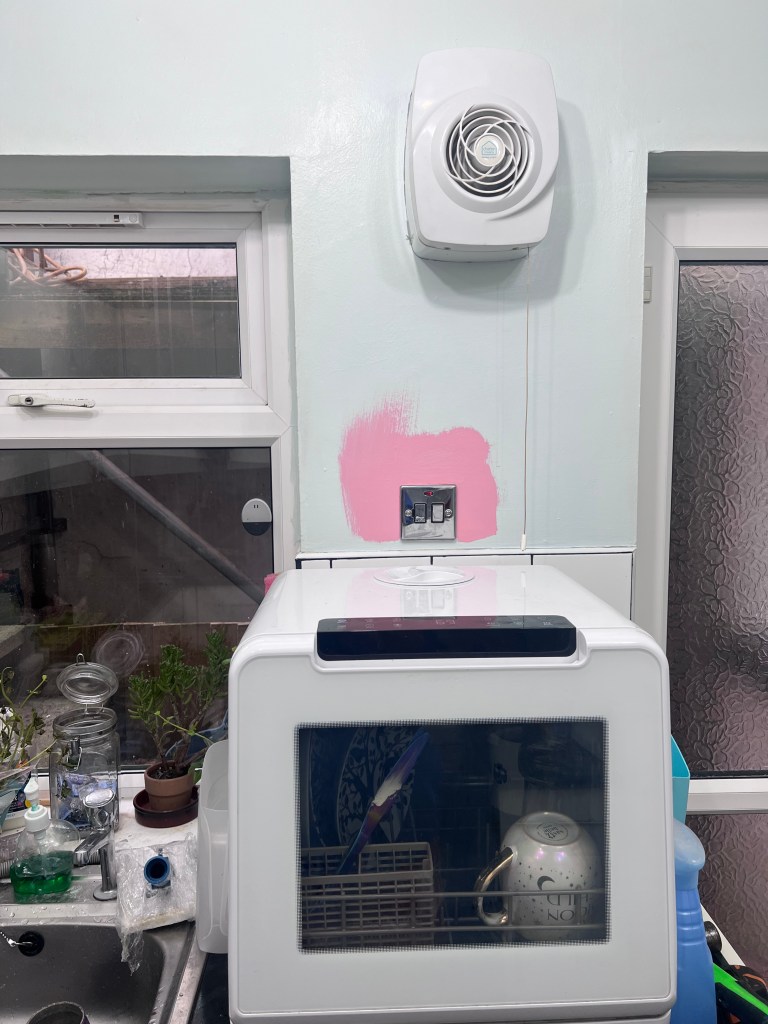
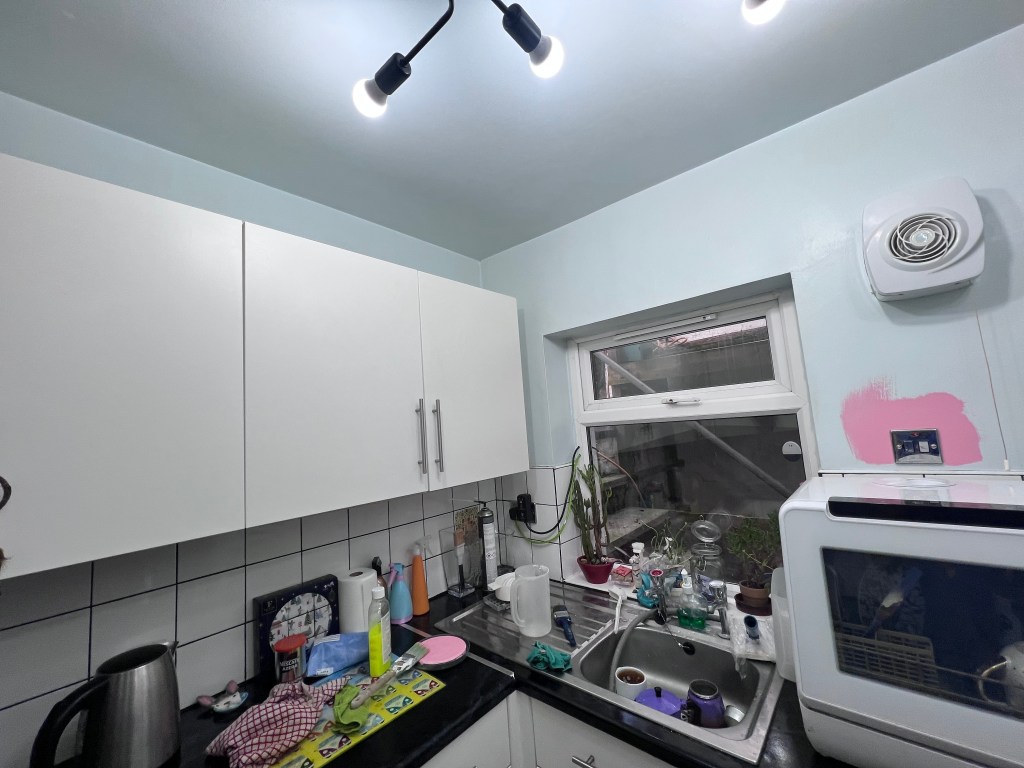
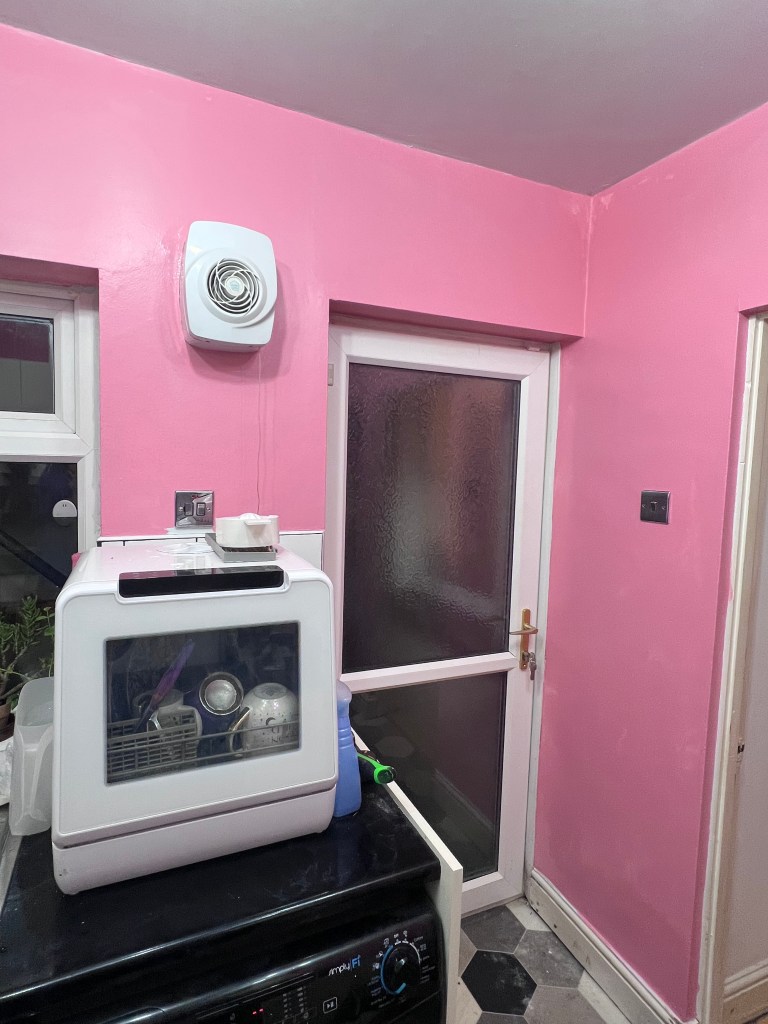
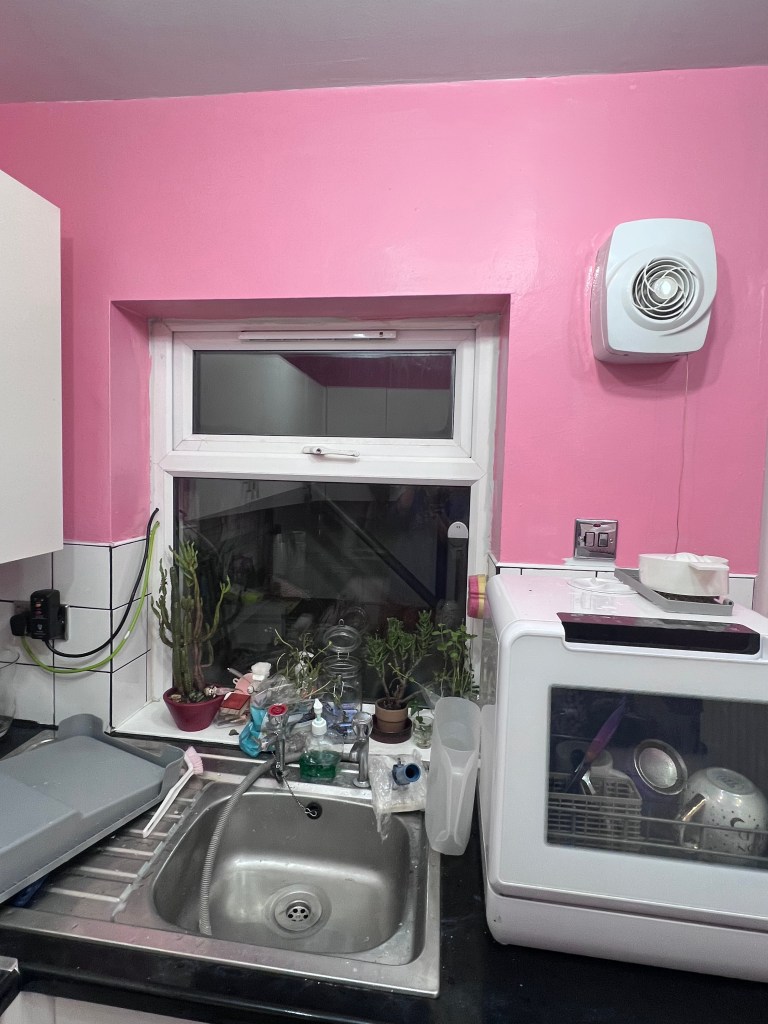
I had a shift at work between 6:00pm and 10:00pm, but before that, Shane and I decided to go to B&Q to get some plumbing items so we could connect the dishwasher to the drainage and water supply. While we were there, we picked up some wood that I want to use as a frame for the wallpaper that we have up in the living area on our chimney breast. We also picked up some white spirit and some cloths, as we are planning on removing the vinyl flooring in the kitchen and will need to remove the glue from the tiles under it afterwards. While I was in work Shane plumbed in the dishwasher!
SUNDAY 18TH JAN
I kept getting hot and cold in the night, resulting in a disrupted night’s sleep. I woke with a sick feeling that wouldn’t go away. We had a fairly lazy day because of this, although we did place a grocery order through Ocado. I worked from 6pm to 10pm, and when I got home, we had an early night as I was so tired.


![IMG_4449[1]](https://mycolourfullifeuk.com/wp-content/uploads/2018/10/img_44491.jpg?w=300)
![IMG_4443[1]](https://mycolourfullifeuk.com/wp-content/uploads/2018/10/img_44431.jpg?w=225)


